

Prerequisites
- A Scheduler board on a Polarion Rich Page. See Add the Scheduler Widget for placing and configuring the widget.
- The work item type you want to create must exist in the project.
- Permission to edit the page, because creation is switched on in the widget parameters.
1
Turn On Enable Create New
Open the page that hosts the board, click Expand Tools, then Edit.
Select the Scheduler widget and choose Edit widget parameters.In the Create New Work Item section, set both parameters:
Tick Enable Create New, confirm Work Item Type, then save the page.
Work Item Type must hold a value.
With no type selected, Scheduler leaves creation switched off even when Enable Create New is ticked.
2
Drag Across Empty Space on a Resource Row
Find the row of the resource that should own the task — a user row in assignee mode, or an enumeration option row in enumeration mode.
Press the mouse button on the first empty day cell of the row and drag horizontally across the days the task should cover.You can also double-click a single empty cell instead of dragging.
3
Enter a Title and Save
The create dialog opens.
It offers a single Title field and two buttons: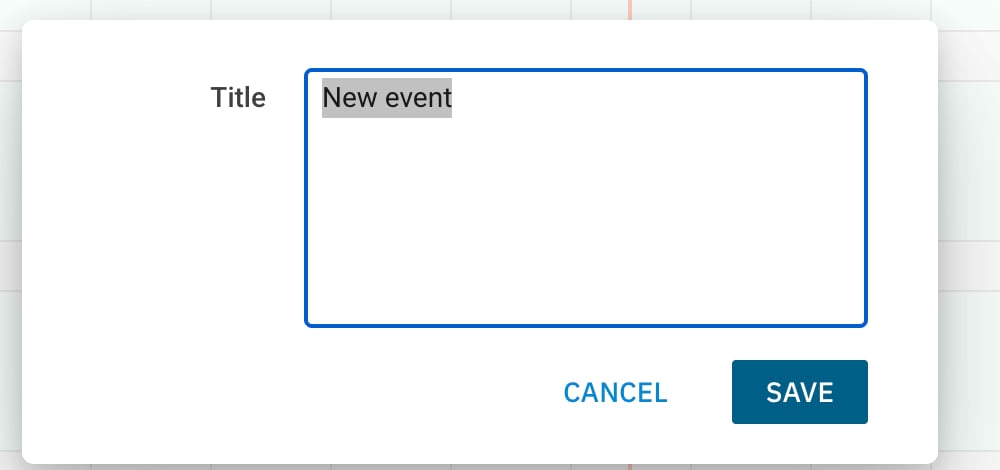
- Save creates the work item with the title you typed.
- Cancel closes the dialog and creates nothing.
4
Check the Result on the Board
The new card appears on the row you dragged on, spanning the dates you dragged.
It is a real Polarion work item of the configured type — the work item ID on the card links to it, and the footer’s Scheduled count goes up by one.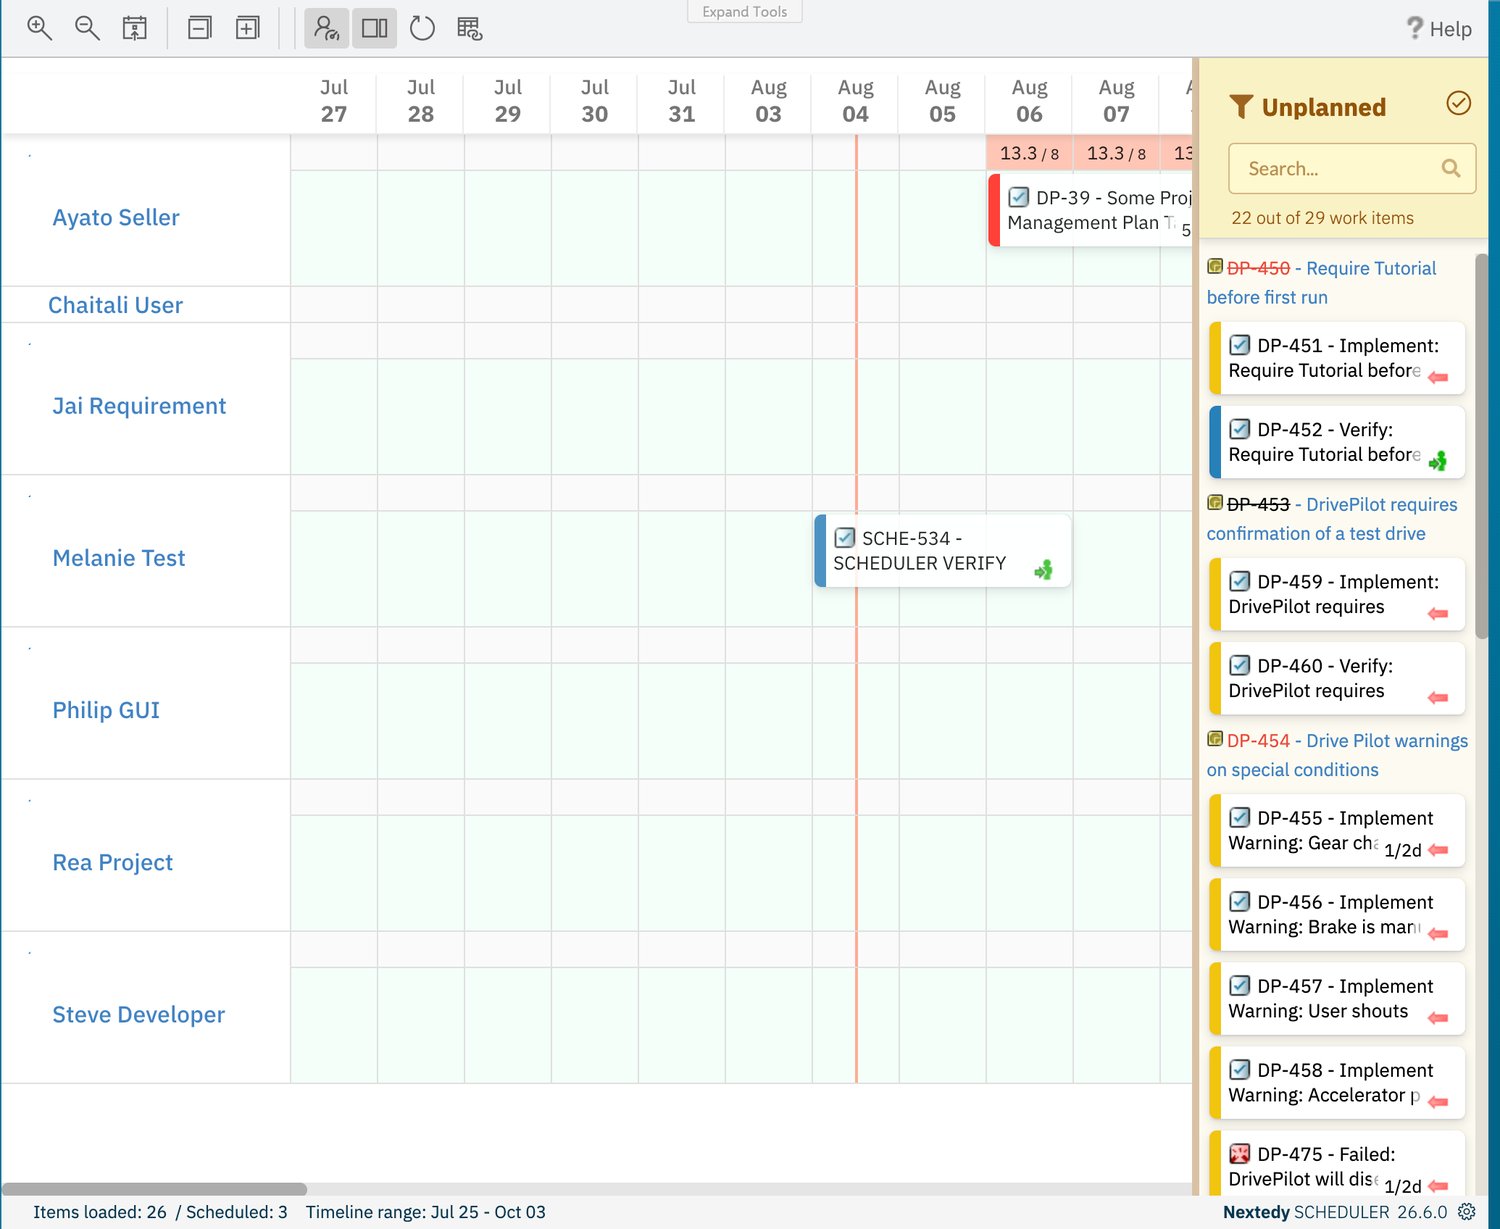
What Scheduler Writes to the New Work Item
Creating on the timeline fills in exactly four things:
Scheduler does not fill any other field.
Everything else on the work item stays as Polarion created it, so open the work item in Polarion to complete description, priority, links and the rest.
See Dates, Duration and Effort for which combination of mapped fields carries the schedule, and Swimlanes and Resources for how a row maps to a resource.
There Is No Save Control
The Scheduler toolbar has no Save button. Creating a task — like moving one or linking two — is written to Polarion as soon as you confirm it, so there is nothing to save afterwards and nothing to discard once the create dialog is closed with Save.Removing a Task You Created
The create dialog has no delete control, and neither does the card. The card’s Unplan item handle clears the schedule instead:- The task disappears from the timeline and its card returns to the Unplanned sidebar.
- The work item itself is not deleted — only its planned dates are cleared.
- There is no confirmation dialog.
Verification
After enabling creation you should see:- Dragging across empty cells on a resource row starts a selection instead of doing nothing.
- Releasing the mouse opens the create dialog with a single Title field, Cancel and Save.
- Save produces a card on that row, with the work item ID linking to a real work item of the configured type.
- The footer count Scheduled increases by one.
- Cancel leaves the board unchanged — no card, no work item.
See Also
- Schedule and Reschedule Tasks — plan existing items from the sidebar and move them around
- Link Task Dependencies — connect the new task to its predecessors
- Add the Scheduler Widget — where the widget parameters live
- Widget Parameters — every parameter with its default
- Dates, Duration and Effort — how the mapped fields store a schedule