

What you will achieve
By the end of this tutorial you will have:- The
com.nextedy.schedulerplugin deployed on your Polarion server, with the configuration cache cleared and the server restarted - The Nextedy SCHEDULER administration section available, with its Setup and License pages loading
- Optionally, the demo project template installed and a demo project created from it, so you have a working board to explore
Prerequisites
- A running Polarion server on a version supported by Nextedy
- Administrator access to the Polarion web interface
- Access to the Polarion server filesystem, and the ability to stop and start the Polarion service
- The Scheduler distribution archive
nextedy_scheduler.zip - Optionally, a production licence file whose name ends in
-scheduler_lic.json
You do not need a licence file to install Scheduler. With no production licence in place, the evaluation version can be used for 30 days, and a licence can be added afterwards.
Deploy Scheduler
Scheduler installs the same way as any other Polarion third-party extension: drop the plugin folder into the extensions directory, delete Polarion’s configuration cache, and restart.1
Stop the Polarion service
Stop Polarion before touching the extensions directory.
2
Unpack the distribution archive
Unzip
nextedy_scheduler.zip. It contains a single folder named com.nextedy.scheduler.3
Copy the plugin folder into the extensions directory
Copy the whole Replace
com.nextedy.scheduler folder into your Polarion extensions directory:[POLARION_INSTALL] with your Polarion installation path — for example /opt/polarion on Linux or C:\Polarion on Windows.4
Place the licence file
If you already have a production licence, copy the Skip this step to run the 30-day evaluation instead.
*-scheduler_lic.json file into the Polarion licence directory:5
Delete the configuration cache
Delete the whole Polarion recreates it during the next startup, which is what makes it discover the new plugin and its web application.
.config directory — the directory itself, not just its contents:6
Start the Polarion service
Start Polarion again and wait for it to come up completely, which can take several minutes depending on the server and the number of installed extensions.
Verify the installation
1
Open the Setup page
Log in as an administrator and open Administration → Nextedy SCHEDULER → Setup.The page is headed Nextedy SCHEDULER Setup and opens with the message The Nextedy SCHEDULER add-on is installed successfully, followed by Plugin Version and the build number of the version that is running. Seeing that banner confirms both that Scheduler loaded and that the configuration cache was rebuilt on startup.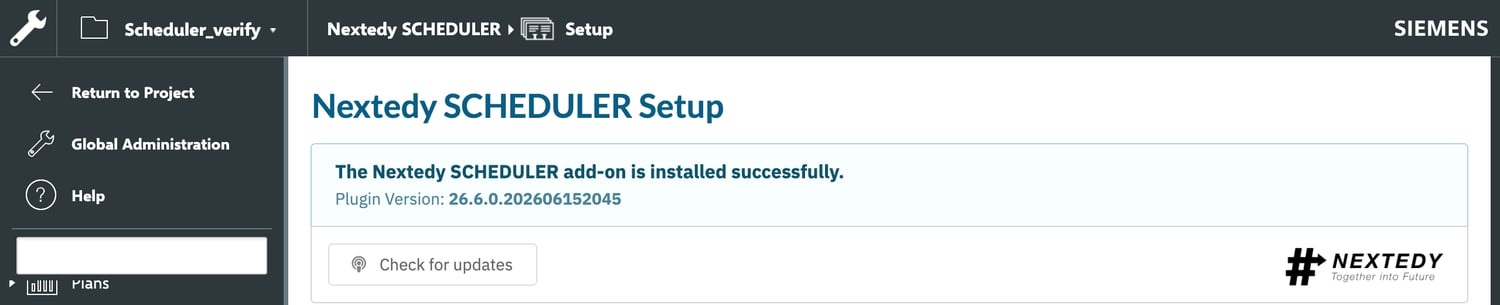
2
Check whether a newer version is available
Select Check for updates. The page replaces the button with Currently Available Version and the version it retrieved, next to an Open Download Page button that takes you to the Scheduler download page.Compare that number with the Plugin Version shown in the banner above it. To update, download the newer archive and repeat the deployment steps — including deleting
[POLARION_INSTALL]/data/workspace/.config.3
Check the licence status
Open Administration → Nextedy SCHEDULER → License.The page is headed Nextedy SCHEDULER License and shows a status banner followed by the licence details — type, expiry date, licensee, and the number of named users — with the signature field hidden. If no production licence is installed, the page reports that none was found and notes that the evaluation version can be used for 30 days.For a walkthrough of both administration pages, see Administration Pages.
Install the demo project
The Setup page can provision a complete demo project with sample Scheduler reports. This is the fastest way to see a configured board, and it is optional — Scheduler works with any existing project.1
Install the demo project template
On the Setup page, go to Or Install Demo Project Environment and find the Demo Project Template section.Select Install Demo Template. The action uploads the template to
.polarion/projects/templates/scheduler_template in your Polarion repository and may take a few minutes. When it finishes, the page confirms that the demo project template was successfully installed.Once a template is present, the button reads Update Demo Template instead, and the section notes that the action re-installs the project template. Use it after updating Scheduler to refresh the template.
2
Create the demo project
With the template installed, the Create Demo Project section becomes active. Follow its five steps: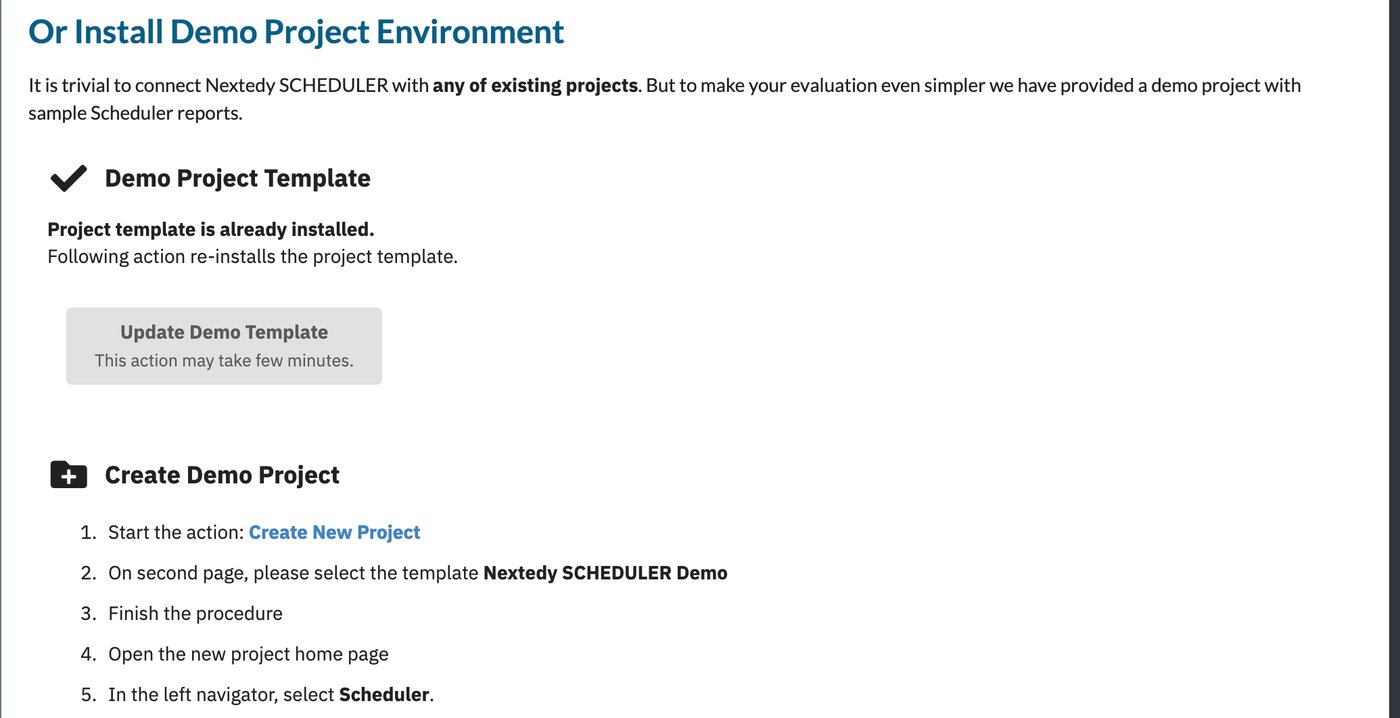
- Start the action Create New Project.
- On the second page, select the template Nextedy SCHEDULER Demo.
- Finish the procedure.
- Open the new project home page.
- In the left navigator, select Scheduler.
3
Read the board
Take a moment to confirm the board is alive: the footer reports Items loaded and Scheduled counts plus the Timeline range currently drawn, and the Unplanned sidebar lists the matching work items that have no dates yet.Continue with Your First Board to work through what each part of the board means.
Setting up Scheduler in an existing project
Nothing on the Setup page is required to use Scheduler in a project you already have — the Setup Scheduler in Existing Projects section on that page does not yet carry instructions. To add a board to an existing project, place the Scheduler widget on a Polarion page in that project and point it at a work-item query. Add the Scheduler Widget covers the whole procedure, and Widget Parameters lists every parameter with its default.Getting help from the Setup page
The Setup page ends with a Need Help? row of three cards, each opening a Nextedy resource in a new tab:
The Support Tickets card also names
support@nextedy.com as an alternative to the portal.
Troubleshooting
Post-installation checklist
Next steps
- Your First Board — read the board and its footer, sidebar, and toolbar
- Schedule Your First Task — drag a work item onto the timeline and move it
- Add the Scheduler Widget — put a board into a project of your own
- Administration Pages — the Setup and License pages in detail