

What you will achieve
By the end of this tutorial you will have:- Nextedy POWERSHEET deployed on your Polarion server
- A valid license applied through the administration interface
- Either a demo project with sample data or Powersheet enabled in an existing project
Prerequisites
- A running Polarion server with a version still supported by Nextedy
- Administrator access to the Polarion server filesystem and web interface
- A Powersheet distribution package (
nextedy_powersheet.zip) downloaded from the Powersheet Download page - A valid license file (trial or production) provided by Nextedy

1
Deploy the plugin files
Unpack the downloaded After copying, delete the cached configuration folders to avoid plugin conflicts:Restart the Polarion server.You should see: After the server restarts and you open Administration, a new section called Nextedy POWERSHEET appears in the sidebar. This confirms Powersheet is installed. Look for it near the bottom of the Administration sidebar, below Configuration Properties.
nextedy_powersheet.zip. Inside you will find a folder named com.nextedy.powersheet.Copy this entire folder into your Polarion extensions directory:Deleting the
.config and .metadata folders only removes cached data. This is safe and recommended by Polarion support to ensure Powersheet is recognized correctly. Clearing both caches is important: a stale .metadata cache can otherwise cause server-side rendering to fail even after the plugin is deployed.If the Nextedy POWERSHEET section does not appear immediately after the restart, perform a hard refresh of your browser (Ctrl+F5 on Windows/Linux, Cmd+Shift+R on macOS) to clear cached UI assets, then reopen Administration.
Polarion ships its own native License and Maintenance Administration topics. After installing Powersheet you will see a separate License topic under the Nextedy POWERSHEET section. When applying or checking your Powersheet license, always use the one under Administration > Nextedy POWERSHEET, not the similarly named native Polarion topic.
2
Apply the license
You can apply the license either through the administration interface (Option A) or by placing the file on the server filesystem (Option B). Whichever method you use, the verification below applies.
Option A: Upload through the administration interface
- Navigate to Administration > Nextedy POWERSHEET > License
- Drag and drop your license file onto the upload area, or select it from your filesystem
Option B: Place the license file on the server filesystem
You can also upload the license by placing the file directly on the Polarion server filesystem. Copy the license file into the extension’s license directory and restart Polarion. For the exact filesystem path and step-by-step instructions, see the Nextedy license installation guide.You should see (either method): Open Administration > Nextedy POWERSHEET > License. The license page displays the license details (expiration date, user count) and no red or warning banner is shown. The absence of a banner means the license is valid.3
Set up a project
Navigate to Administration > Nextedy POWERSHEET > Setup.Install the demo template by selecting Demo Project Template > Install Demo Template. (Depending on your Powersheet version, the in-product button may read slightly differently, e.g. Install Demo. The label also varies by state: it reads Install Demo Template on first use, but Update Demo Template once a demo template is already installed — both perform the same action.)Once installed, create a new project: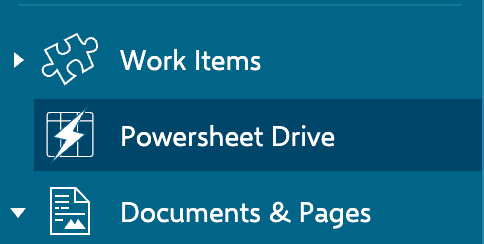
- Select Create New Project
- Choose the template Powersheet RTM Demo. The template list shows all installed Polarion templates, so type
powersheetinto the template dropdown’s filter to narrow it down and surface the Powersheet RTM Demo entry. - Complete the wizard (the standard Polarion new-project wizard: Basics > Template > Summary) and open the project home page
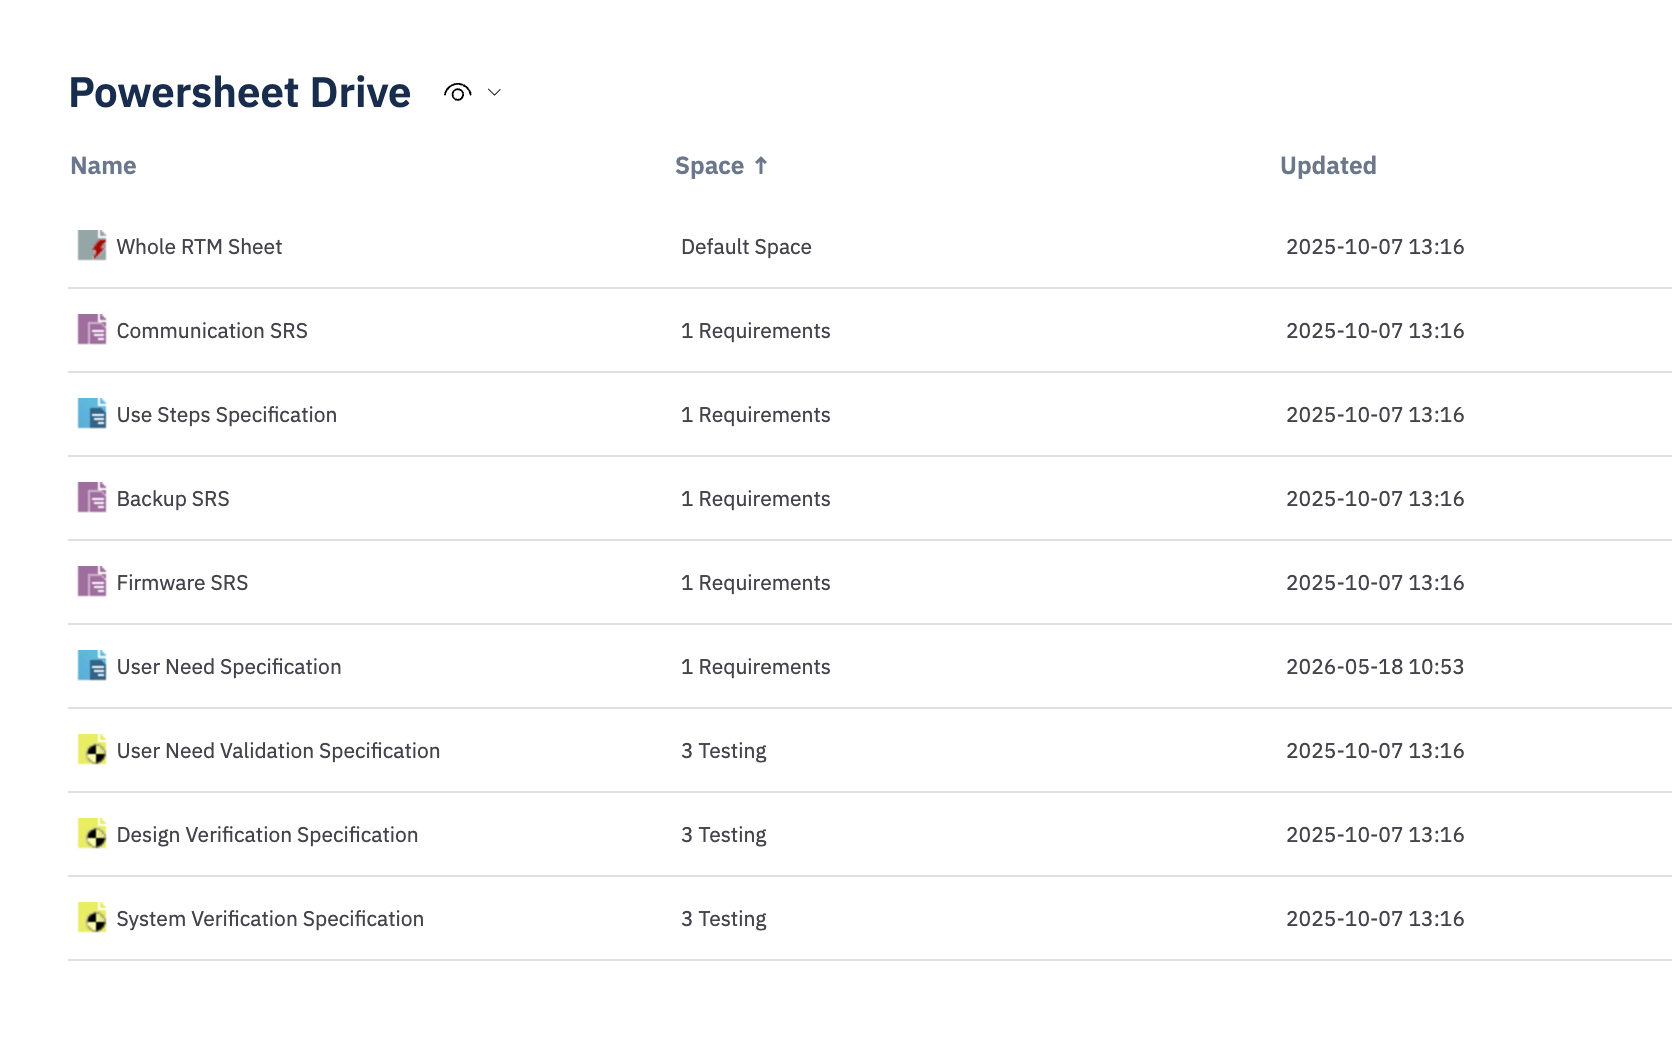
- In the left navigator, select Powersheet Drive
Installing the demo template uploads it to the Polarion server filesystem at
.polarion/projects/templates/, where it becomes available to the new-project wizard like any other Polarion project template.The demo dataset is richer than this summary suggests. Alongside the requirements documents, your demo project also contains additional sample documents such as Backup, Communication, and Firmware SRS — so don’t be surprised to see more entries than the ones described here.
4
Validate the installation
Open one of the demo documents from the Powersheet Drive. The sheet loads and displays a hierarchical table with editable cells, column headers, and expansion controls.It is also possible to open the sheet from the document in the standard Polarion view. To switch to the sheet view, click the Open with Nextedy Powersheet button (shown below).
Opening a document from the Powersheet Drive launches it in a new browser tab, leaving the Drive open in the original tab. This is expected behavior.
If the license page shows no warning or error banner, the license is valid — the UI does not display a separate OK indicator.
Troubleshooting
If Powersheet does not appear after installation:- Stop Polarion
- Delete the cache folders:
[POLARION_DATA]/workspace/.configand[POLARION_DATA]/workspace/.metadata - Restart Polarion
Next steps
- Setting Up Navigation — configure the Powersheet topic in your project’s sidebar
- Creating Your First Data Model — define entity types and relationships for your project
- Creating Your First Sheet Configuration — set up columns and views for your sheet
- How to Evaluate Powersheet — explore hosted and local trial options