

When to use this pattern
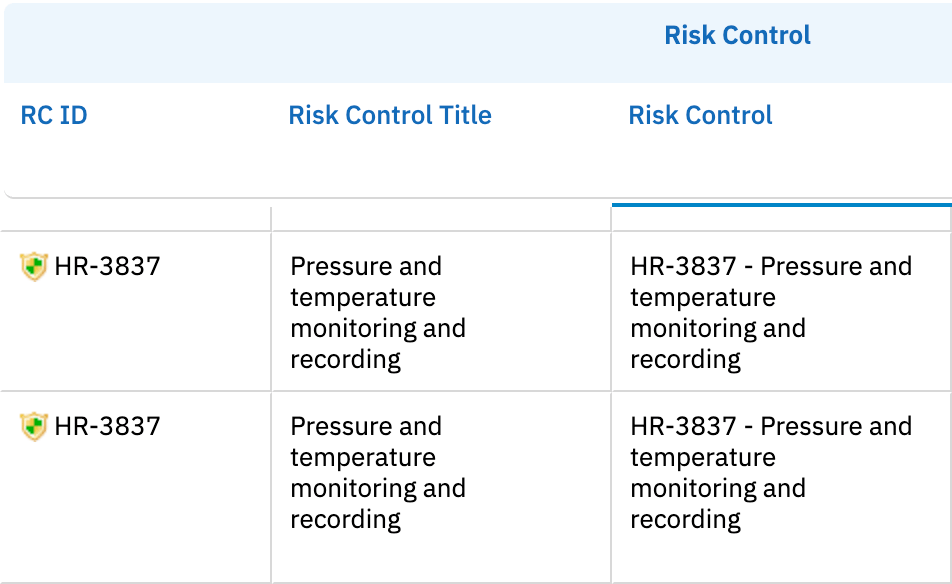
By default, you might use two separate columns to show the downstream item ID and the downstream item title. That works, but it doubles the horizontal footprint of every linked task. A single combined column is especially useful when:- You are showing several downstream task types side by side (mitigation, verification, safety requirement)
- The grid is already wide and you want to reclaim horizontal space
- You want a clickable, copy-friendly summary like
MIT-0042 — Add fuse to power input
task.$item binding pattern.

Before you start
You will need:- A sheet configuration where
dataTypes.taskis already configured (work item type, link role, name) - Permission to edit the sheet configuration through Menu > Configuration > Edit Risksheet Configuration
- Familiarity with combining server-rendered columns and the
task.$itembinding (see Render Custom Data)
1
Confirm dataTypes.task is configured
Open the sheet configuration. Locate the The
dataTypes block and make sure the task entry is present:name is what appears in toolbar menus. The zoomColumn should be the ID of the combined column you are about to create — this lets users click into the column when they zoom into a task.“Risk” and “task” are naming conventions, not constraints. The same pattern works for any two work item types, including requirements linked to test cases, or hazards linked to safety goals.
2
Add a combined ID + Title column
Add a new column entry under Key points:
columns. The key trick is binding to task.$item and using a Velocity serverRender template to format the output:bindings: task.$itemexposes the entire downstream task work item as$itemin the Velocity context- The column is implicitly read-only because it is server-rendered
- The
#if($item)guard prevents rendering when a row has no linked task - The em-dash (
—) is a visual separator — adapt to your house style (colon, pipe, line break)
3
Pick a separator style
The most common formats are:
For a two-line layout that wraps the title under a bold ID:
4
Hide the separate ID and Title columns
If you previously had separate The
taskId and taskTitle columns, remove or hide them. The cleanest approach is to delete them entirely from the columns array. If you need them available for power users, keep them in the configuration and exclude them from your default view:@all shorthand includes every column, and the -columnId prefix removes specific columns from that set. See Configure Column Visibility for more on view filtering.5
Update the level mapping (if needed)
Combined columns are typically task-scope columns and therefore should have no
level property — task columns merge by parent risk item plus task ID, not by visual level. Check that the column entry does not include a level: N setting that would push it into a risk-row hierarchy.6
Save and verify
- Save the sheet configuration through the editor
- Reload the risksheet document
- Confirm that the combined column displays both the ID and the title for every linked downstream task
ID — Title, with no separate ID/title columns cluttering the view. Clicking the column header should sort by the rendered value, and the column should remain read-only.Working with multiple downstream types
If your sheet has more than one downstream type (for example, mitigations and verifications), repeat the pattern with one combined column per type. Reference yourdataTypes.task configuration and assign distinct id values to each combined column. See Configure Multiple Downstream Types for the broader pattern.