

What you will achieve
By the end of this tutorial you will have:- A new Polarion project created from the Planningboard demo template
- A LiveReport page with a working Planningboard widget embedded
- Sample Plans and work items arranged on the board, ready to explore
Prerequisites
- Planningboard is installed on your Polarion server (see Installation)
- A valid Planningboard license is applied (see License Installation)
- You have Polarion Administration access
1
Open the Planningboard Administration setup page
- Log in to Polarion and click the top-level Administration link (gear icon or the global Administration project).
- In the left navigation, locate Planningboard and click Setup.
If Planningboard does not appear in the Administration navigation, Planningboard is not loaded. Verify the installation steps in Installation — in particular that the
.config file was deleted and Polarion was restarted.2
Install the demo project template
On the Planningboard Setup page, follow the on-screen instructions to install the demo template into Polarion’s project template registry.What you should see: A confirmation message that the template was installed successfully. The template is stored in Polarion’s template repository and will be available when you create a new project in the next step.
3
Create a new project from the template
- Navigate to Polarion Administration > Projects and click Create Project.
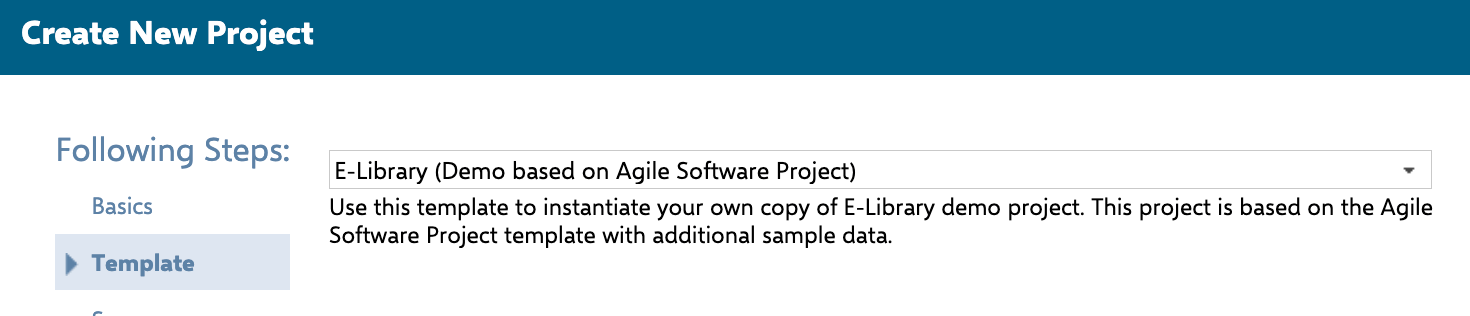
- On the template selection screen, choose the Planningboard template (it appears in the list after Step 2).
- Fill in the project name, ID, and any other required fields, then confirm.

4
Open the planning board page
- Switch to your newly created project.
- Open Documents & Pages in the left navigation.
- Navigate to the Planning space and open the Planningboard LiveReport page.
5
Explore the board
Take a few minutes to orient yourself:
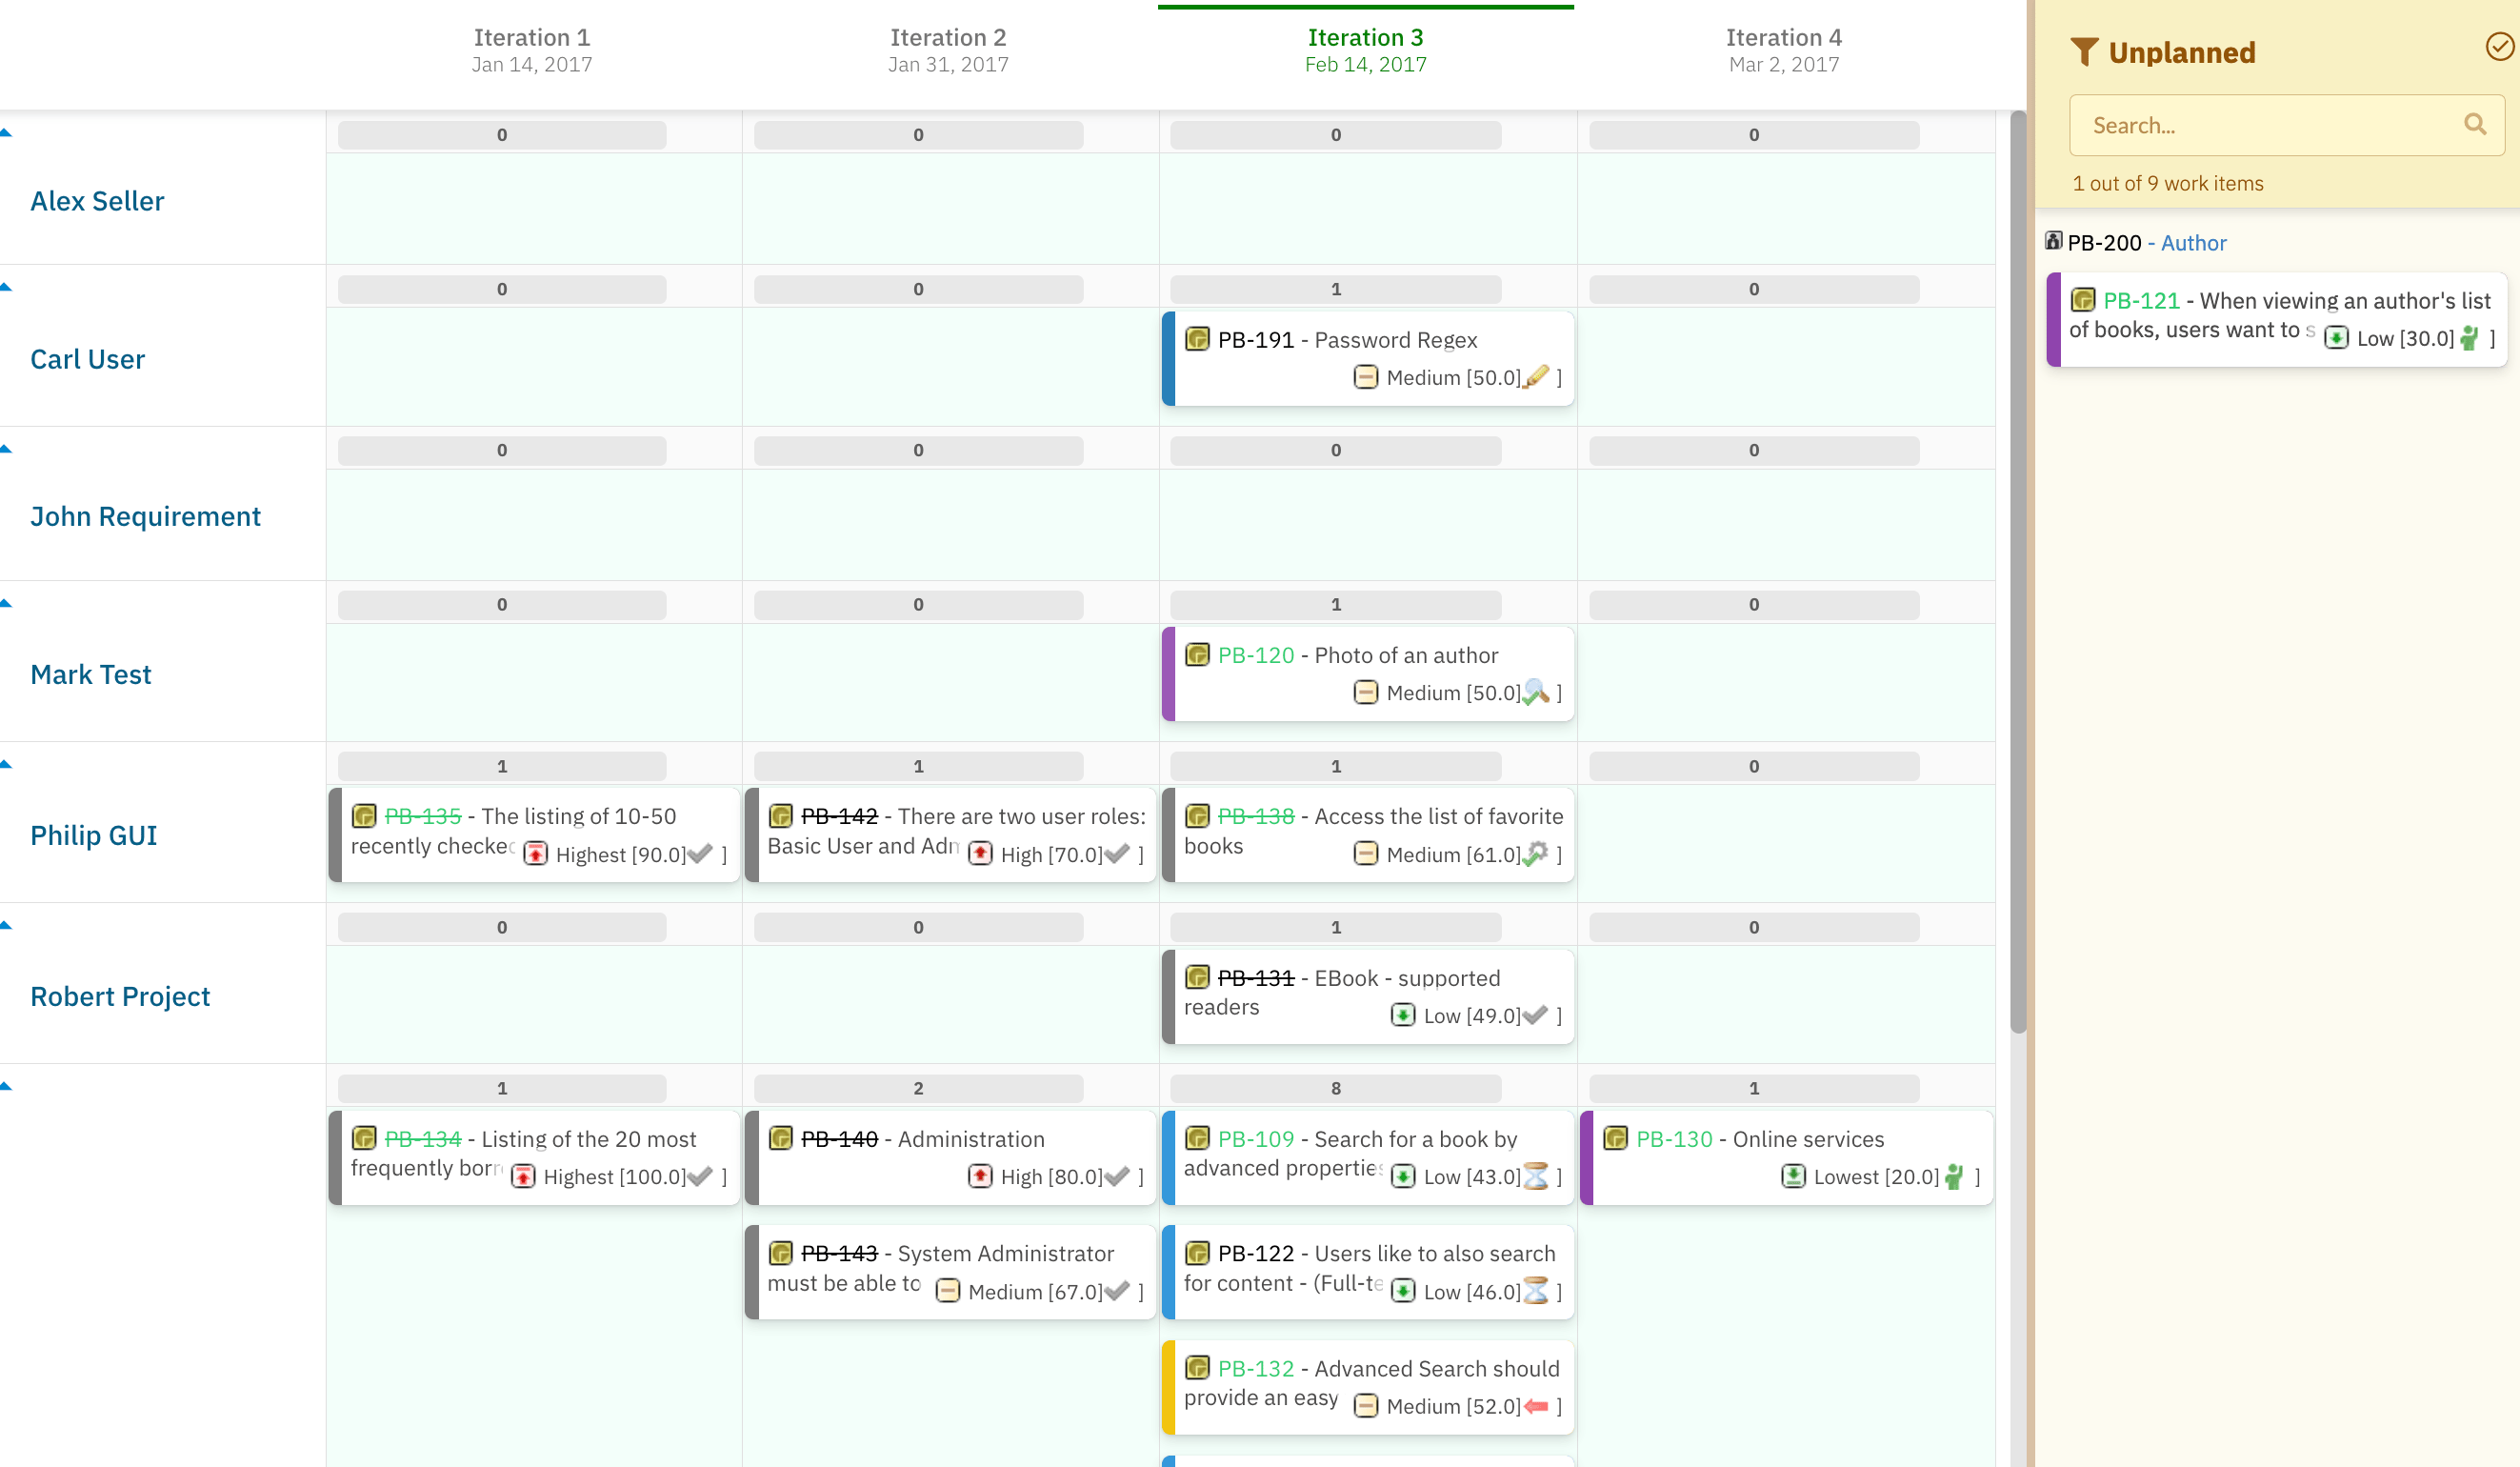
- Cards — each work item appears as a card. Cards display the work item ID and title, for example
MAP-531 - My Story. - Swimlanes — rows that group cards by assignee (the default
assignmentMode). Drag a card from one swimlane to another to reassign it. - Capacity bar — the bar at the top of each swimlane shows load relative to capacity for the selected Plan.
- Sidebar — licensed users see an editing sidebar with filters and tools. Unlicensed users can view the board in read-only mode but cannot drag cards or access the sidebar.
License-based accessUsers without a Planningboard license can view the board (cards, swimlanes, capacity bars) but editing actions — dragging cards, accessing the sidebar, creating or showing unplanned items — are disabled for them.
Widget parameter reference (overview)
The Planningboard widget on the LiveReport page is configured through widget parameters. Here are the key parameters you will encounter first:Next steps
With the demo project running, continue with:- Create Your First Planningboard — walk through building a board from scratch on an existing project
- Basic Board Interactions — learn drag-and-drop, the sidebar, and filtering
- Setup into Existing Projects — add Planningboard to a project you already have