

What you will achieve
By the end of this tutorial you will have a working Planningboard embedded in a LiveReport page inside your existing Polarion project, ready for you to configure Plans and swimlanes.Prerequisites
- Planningboard is installed on your Polarion server (see Installation)
- A valid Planningboard license is applied (see License Installation)
- You have project administrator access to the target Polarion project
- The project contains at least one Plan with work items
1
Open Documents & Pages in your project
Navigate to your existing project in Siemens Polarion ALM and open the Documents & Pages section from the left sidebar.Choose a space where you want to host the Planningboard. For most teams the Planning space is a natural home, but you can use any space you have write access to.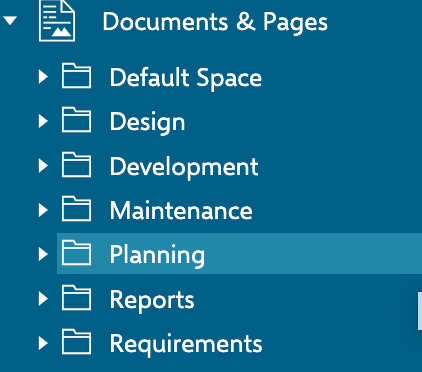
2
Create a new LiveReport page
Inside the chosen space, create a new LiveReport Page and give it a recognizable name such as 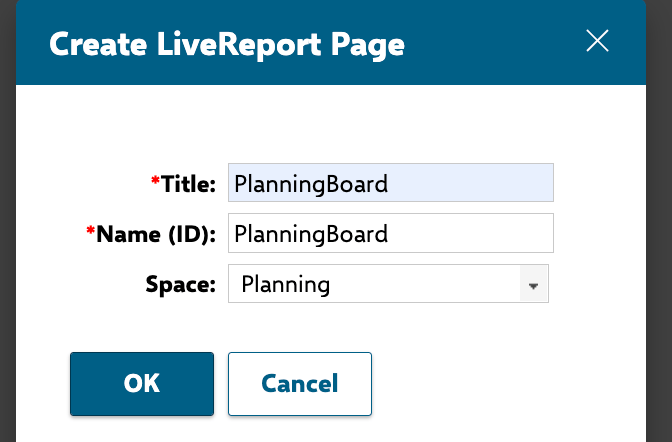
PlanningBoard.Planningboard runs as a widget embedded inside a LiveReport page. It cannot be placed on a plain Wiki page — you must use a LiveReport page type.
3
Insert the Planningboard widget
With the LiveReport page open in edit mode, open the widget picker. From the list of available widgets, select Plans - Planningboard.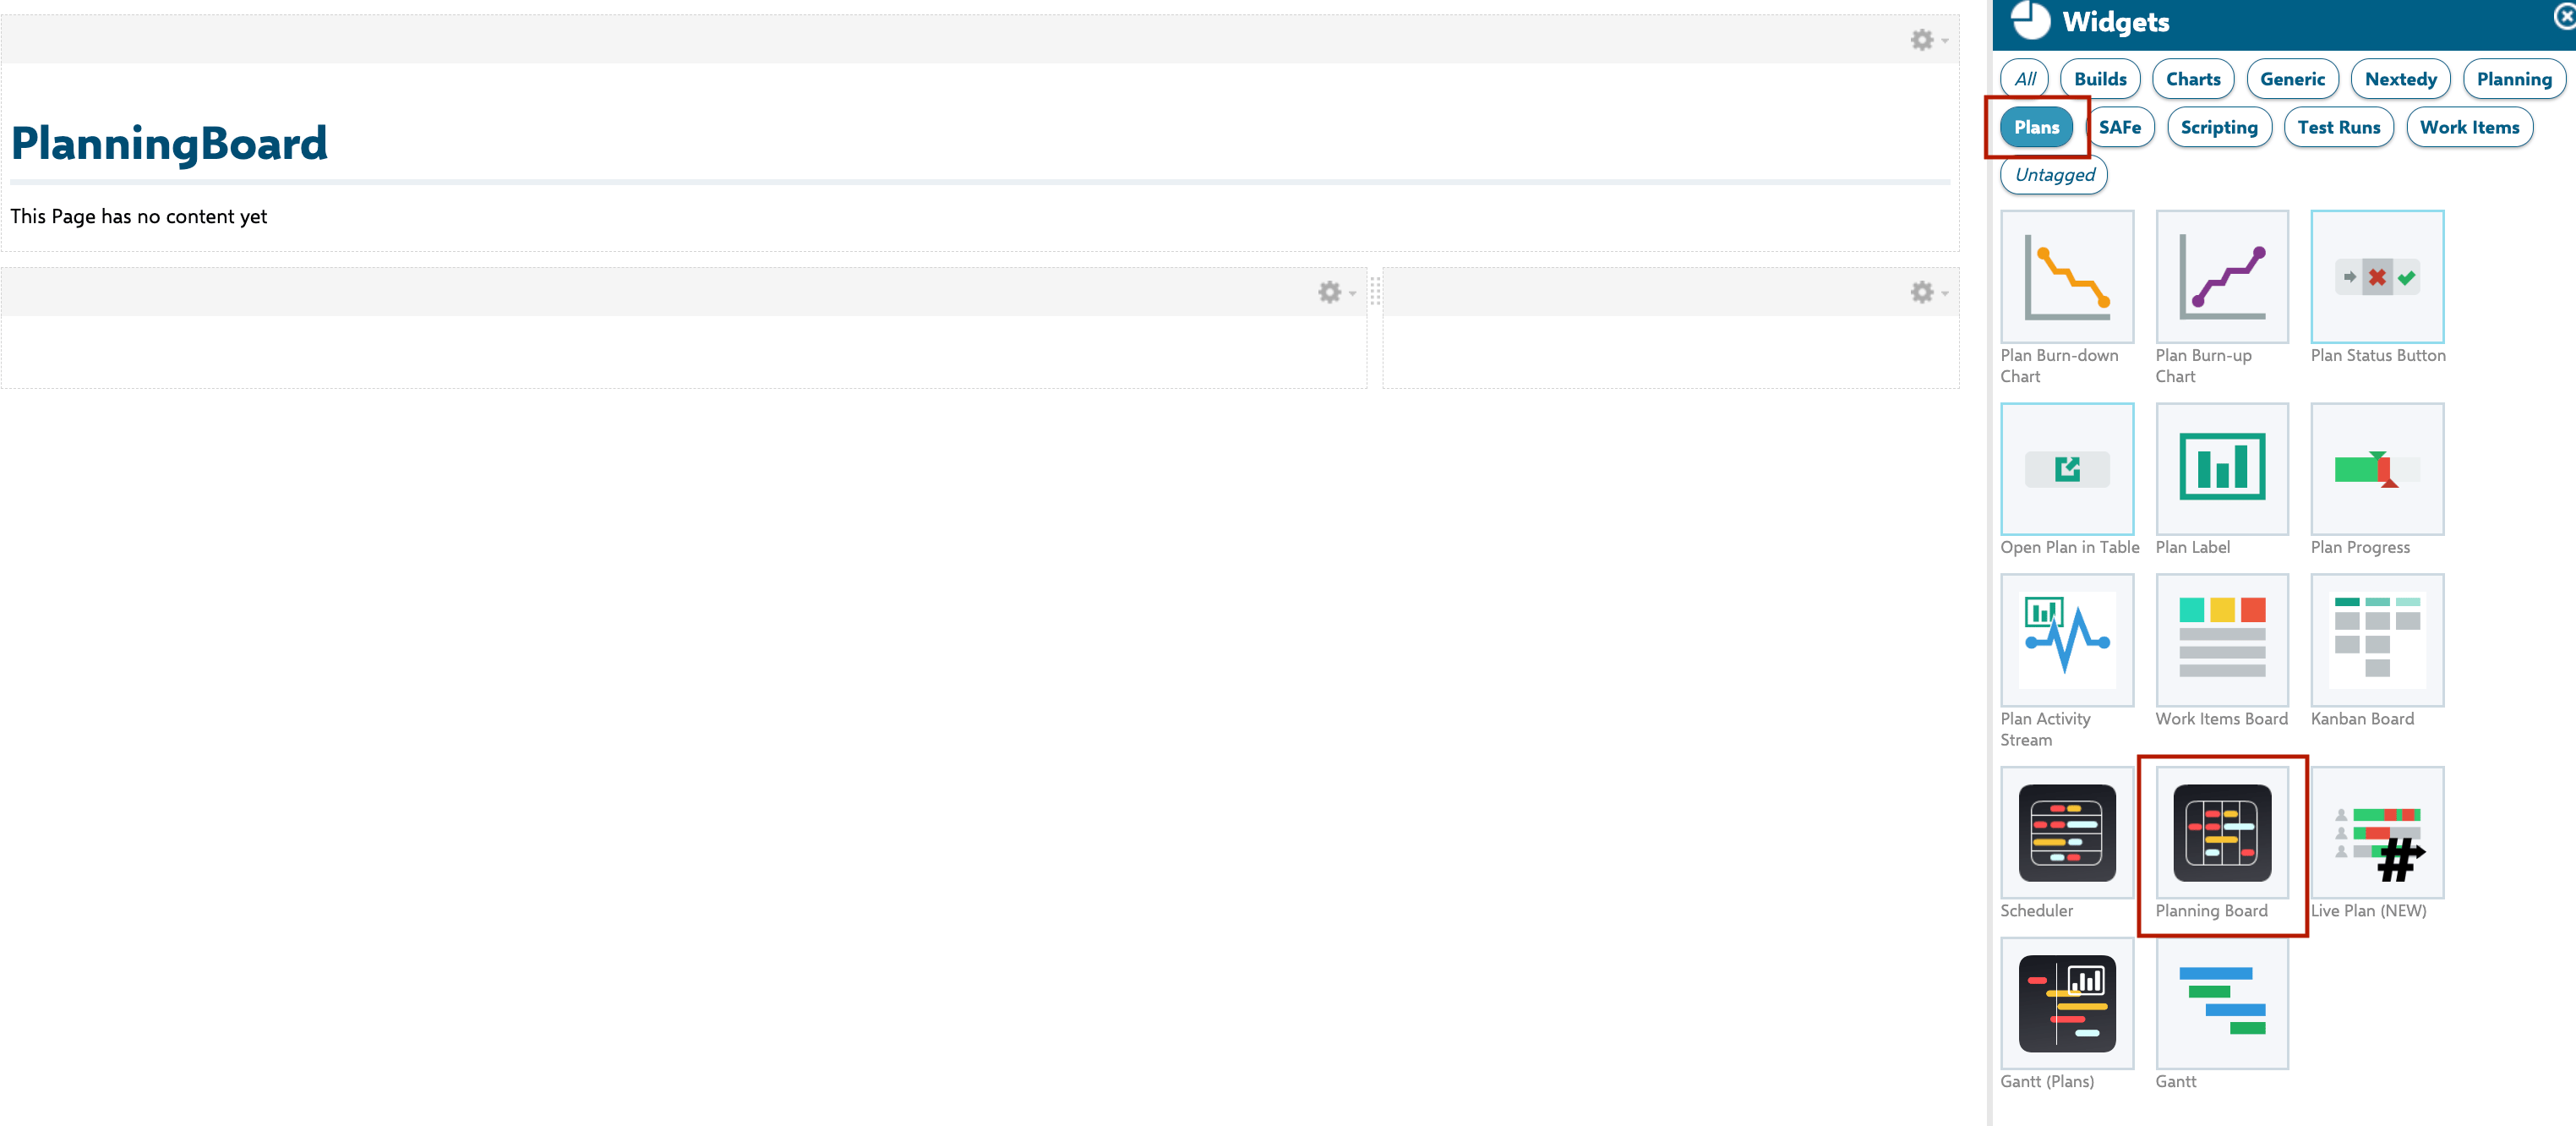
4
Verify the board loads correctly
Save the page and view it in read mode. Confirm that:
- Plans appear as columns across the board
- Work items appear as cards within the swimlanes
- Swimlanes are populated (the default Assignment Type (
assignmentMode) groups items by assignee)
5
Configure the widget parameters (optional first pass)
Click the widget’s settings icon to open its parameter panel. The two most important parameters for an initial setup are:
Minimal example — show release plans containing stories, grouped by assignee:
- Plans:
type:releasePlan - Work Item Type:
story - Assignment Type:
ASSIGNEE - Show # of last plans:
1 - Show # of next plans:
5
Setup flow at a glance

Next steps
With the board running in your project, explore these topics to get more out of Planningboard:- Create Your First Planningboard — walk through a complete planning session end-to-end
- Basic Board Interactions — drag cards, use the sidebar, and refresh the board
- Concepts — understand swimlanes, capacity bars, Plan queries, and normalization
- Guides — task-oriented how-to guides for swimlane configuration, capacity setup, and more