

What You Will Achieve
By the end of this tutorial the Mediakit gallery will appear as a section on the work item form, ready to accept files.Prerequisites
- Mediakit installed on your Polarion server — see Installation
- Administrator access to the project you want to configure
- A project with at least one work item you can open
Add the Gallery
1
Open Form Configuration
In the project, go to Administration → Work Items → Form Configuration.
2
Find the layout for your work item type
Scroll past Form Filters to the Form Layouts table. It lists one row per work item type, plus a — Unspecific — row.Pick the row for the type you want the gallery on and select Edit. A basic XML editor opens.
3
Add the extension element
Add an The
extension element where you want the gallery to appear. Placing it after the attachments field puts the gallery directly below Polarion’s own attachment list:label is the section heading readers will see, so choose whatever suits your project. mode and height are optional — see Form Extension for what they accept.4
Save and open a work item
Save the layout, then open a work item of that type. The gallery appears as its own collapsible section, headed with the
label you set.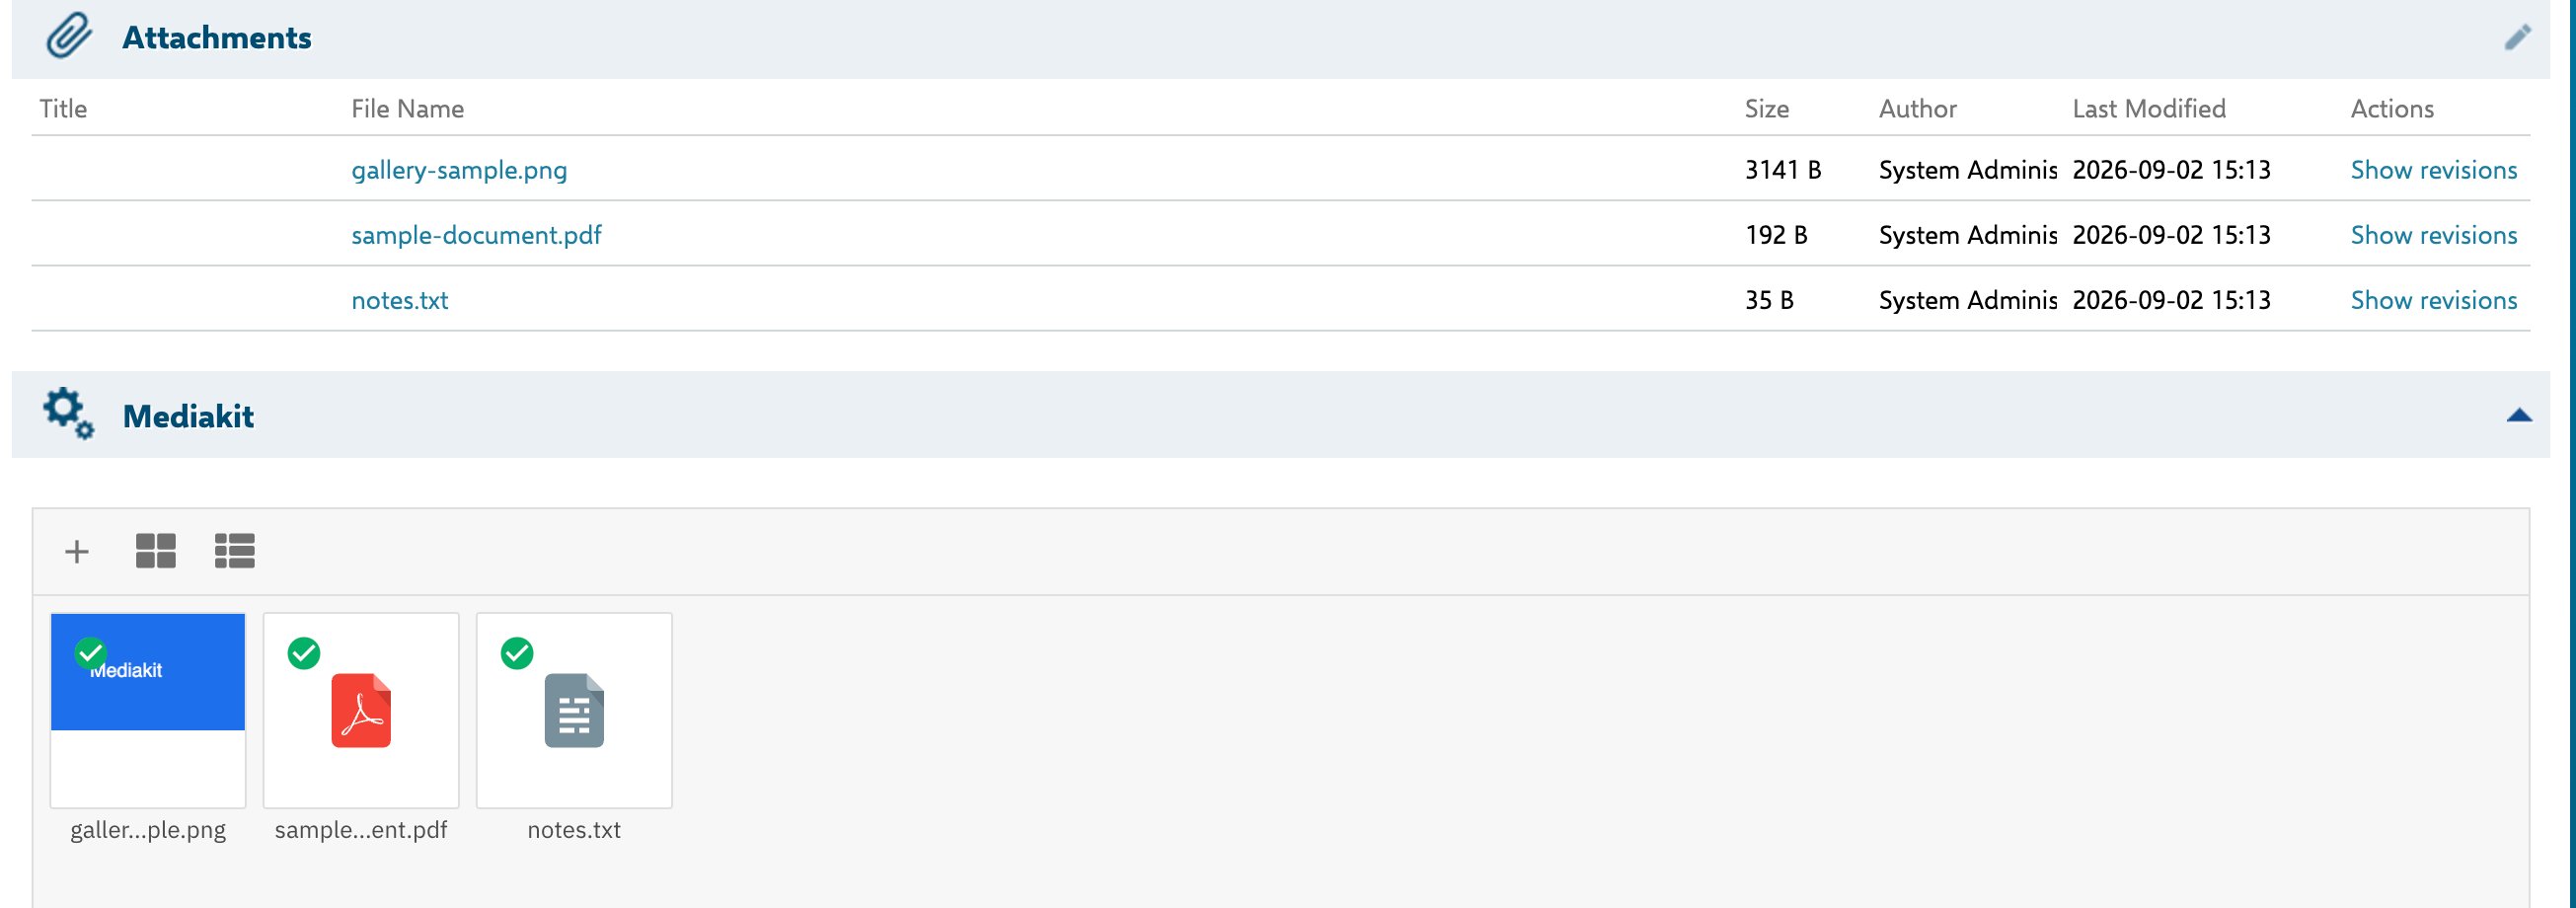
The Mediakit gallery on a work item, below Polarion's own Attachments section
Repeat for Other Work Item Types
The gallery now appears only on the type whose layout you edited. To show it elsewhere, repeat the steps above for each additional type.Next Steps
Uploading Files
Add files to the gallery and understand what happens when a name already exists.
Form Extension
Every attribute the extension element accepts, with defaults.