

1
Define a Column Group
Add a
columnGroups section to your sheet configuration YAML. Each group has a unique ID and configuration properties:2
Understand Group Properties
3
Assign Columns to the Group
Add a All three columns will appear under a shared “Requirements” group header in the sheet.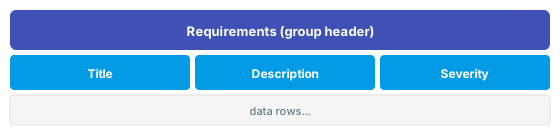
columnGroup property to each column that should belong to the group:4
Configure Multiple Groups
Define multiple groups with different color schemes to visually separate entity domains:
5
Enable Collapse Behavior
When When collapsed, only the
collapseTo is set, a collapse toggle button appears in the group header. Clicking it hides all columns in the group except the specified one:hazard column is visible. Click the toggle again to expand all columns back.Collapse target must be a column in the groupThe
collapseTo value is specified by column binding path. If the target column is hidden (visible: false), the last visible column in the group is used instead.Predefined Style Names
You can use any of these built-in style names forgroupStyle and headerStyle:
none, grey, darkgrey, red, darkred, orange, darkorange, green, darkgreen, lightgreen, blue, darkblue, lightblue, teal, darkteal, purple, darkpurple, lightpurple
For custom colors, define styles in the styles section and reference them by name. See Apply Column Styles.
Verify
After saving the sheet configuration, reload the powersheet document. You should now see:- A group header row appears above the column headers
- Columns assigned to the same group share a merged group header cell
- Columns without a
columnGroupshow a blank group header - Groups with
collapseTodisplay a collapse toggle button
See Also
- Apply Column Styles — define custom styles for headers and groups
- Styles Reference — advanced header styling
- Configure Collapsible Groups — detailed collapse configuration
- Add a Column — column basics and binding paths