

Prerequisites
- A working Nextedy GANTT widget with Plans configured
- Work items assigned to Polarion Plans (iterations, releases)
- Access to Widget Parameters > Advanced > Item Script
Option 1: Derive Schedule from Plans Using Item Script
When you need a work item’s dates to come from its plan assignment rather than from its own date fields, add the following to Widget Parameters > Advanced > Item Script:Iteration template, and copies the plan’s start and due dates onto the task bar.
Option 2: Use the Utility Method for Unplanned Items
For work items that have no dates set, use the built-inderiveScheduleFromPlans utility method in your item script:
Option 3: Automatic Sync with syncToPlans
When you save a work item in the Gantt, it can be planned automatically into the Polarion plans that cover its dates. Use this when an item that slips should move into the next iteration, or an item that spans several iterations should be planned into all of them. Before you start- You can edit the widget parameters of the Gantt page.
- The plans exist in the same project as the work items, and have a start date and a due date.
Turn On Sync to Plans
1
Open the work item type configuration
Edit the Gantt page, select the Nextedy GANTT widget, and open Widget Parameters > Work Item Types Configuration.
2
Select the work item type
Open the entry for the work item type whose schedule should drive plan assignment, for example Work Package.
3
Choose the plan template
Next to Sync to Plans, click Select… and choose one or more plan templates of the project, for example Iteration.
4
Save the page
Save the page. Parameter changes that are not saved are lost when the page reloads.
What Happens When You Save a Task
When you save a task of that type in the Gantt, its Planned In list is updated for plans of the selected templates:- The item is added to every plan of those templates, in the work item’s project, whose start and due dates overlap the task’s start and end dates.
- The item is removed from plans of those templates that no longer overlap.
- Plans of other templates are not changed.
Match Plans by a Custom Field
If several plans cover the same dates, for example one per department, date overlap alone puts the item in all of them. To restrict the match to plans that carry the same value in a custom field, configure context matching. This is available in version 24.1.3 and later.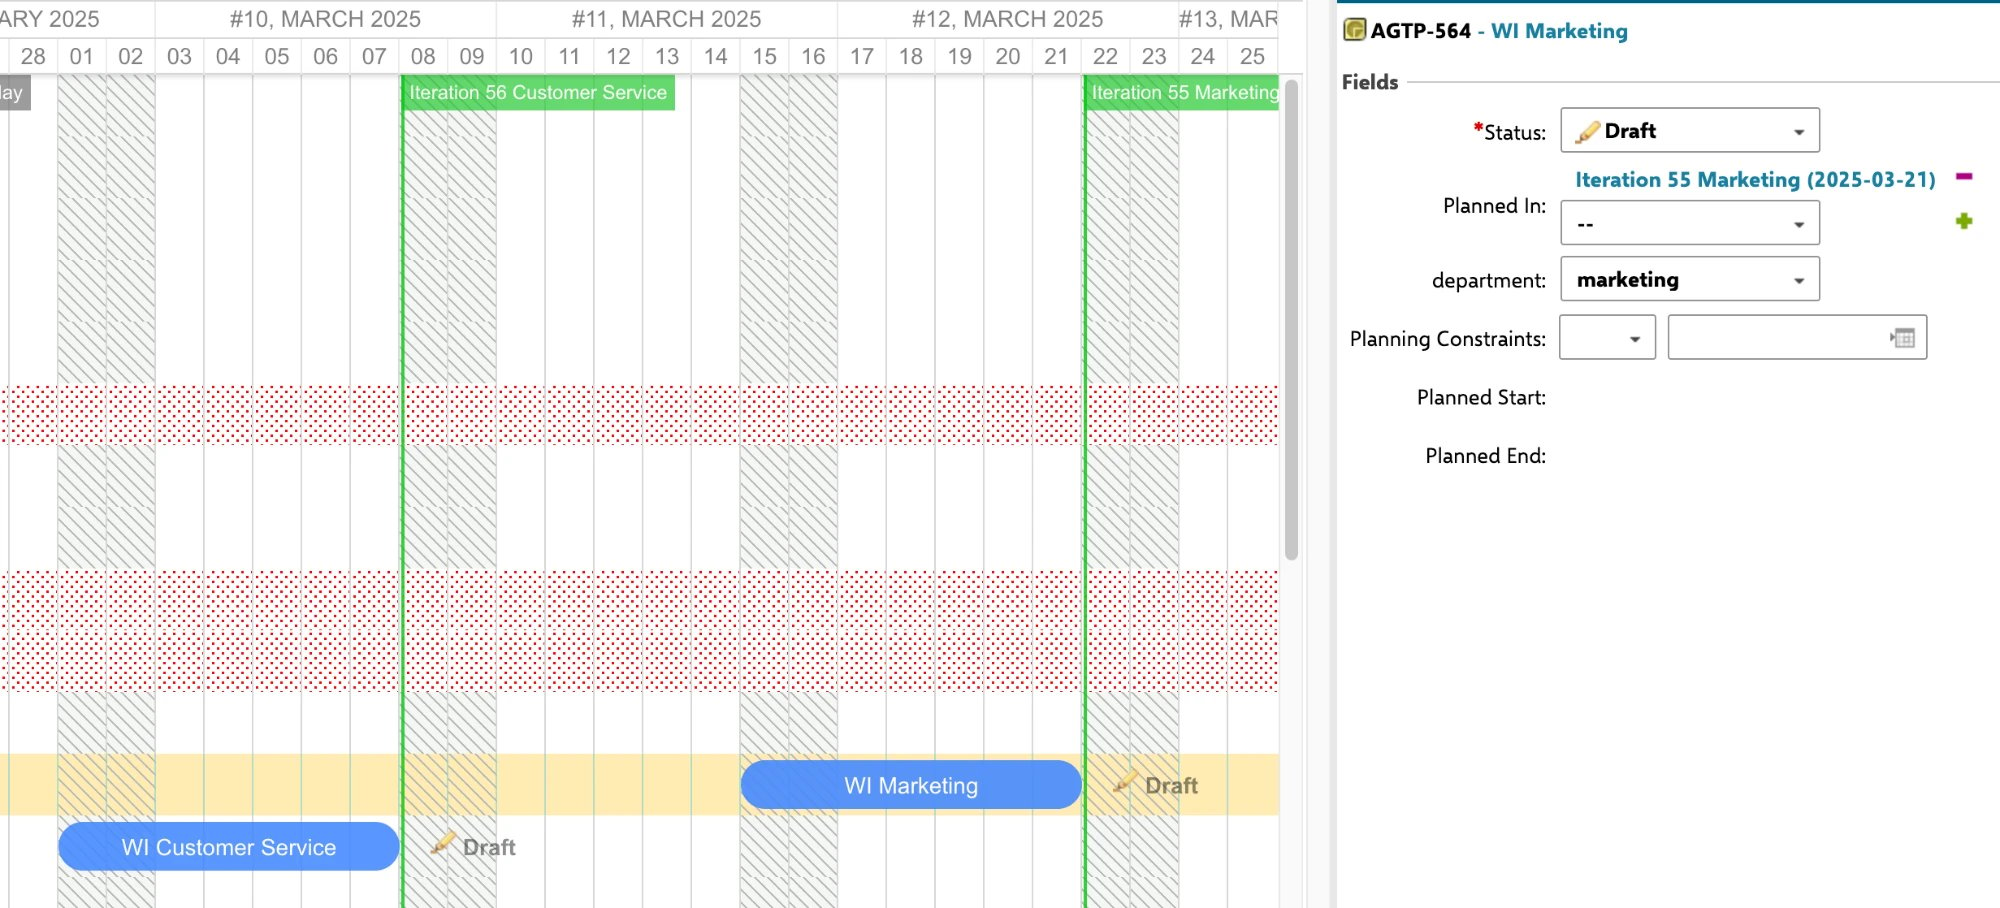
1
Create the enumeration
In Administration > Work Items > Enumerations, create an enumeration with the values you want to match on, for example 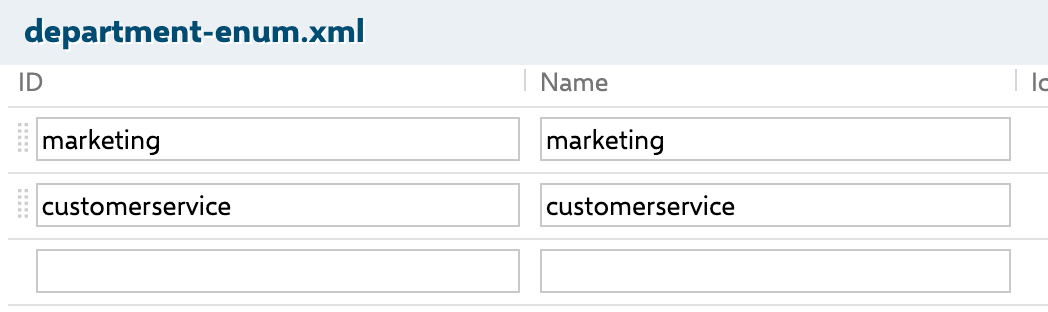
marketing and customerservice.2
Add an identical custom field to work items and plans
Add an enumeration custom field with the same field ID and the same enumeration to both Custom Fields (work items) and Plan Custom Fields. For example, a field
department that uses the enumeration from the previous step.3
Set the same value on the work item and the plan
Set 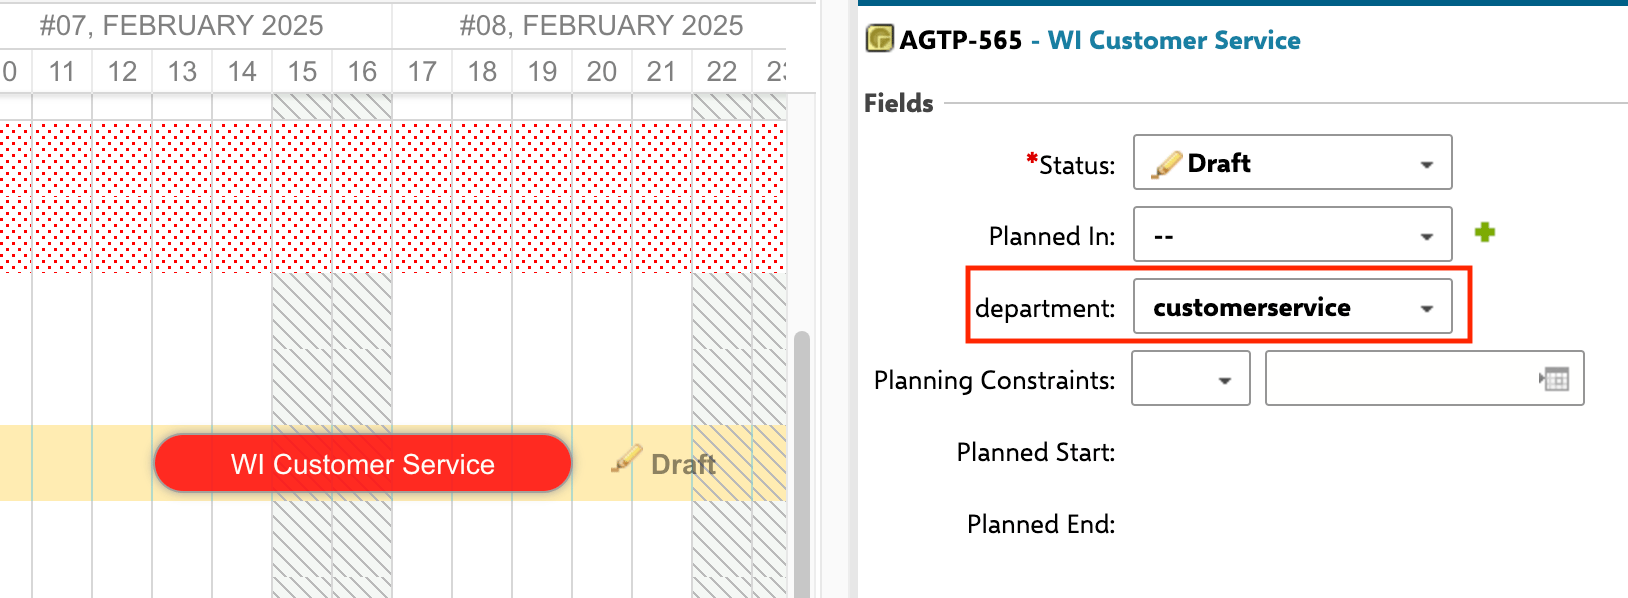
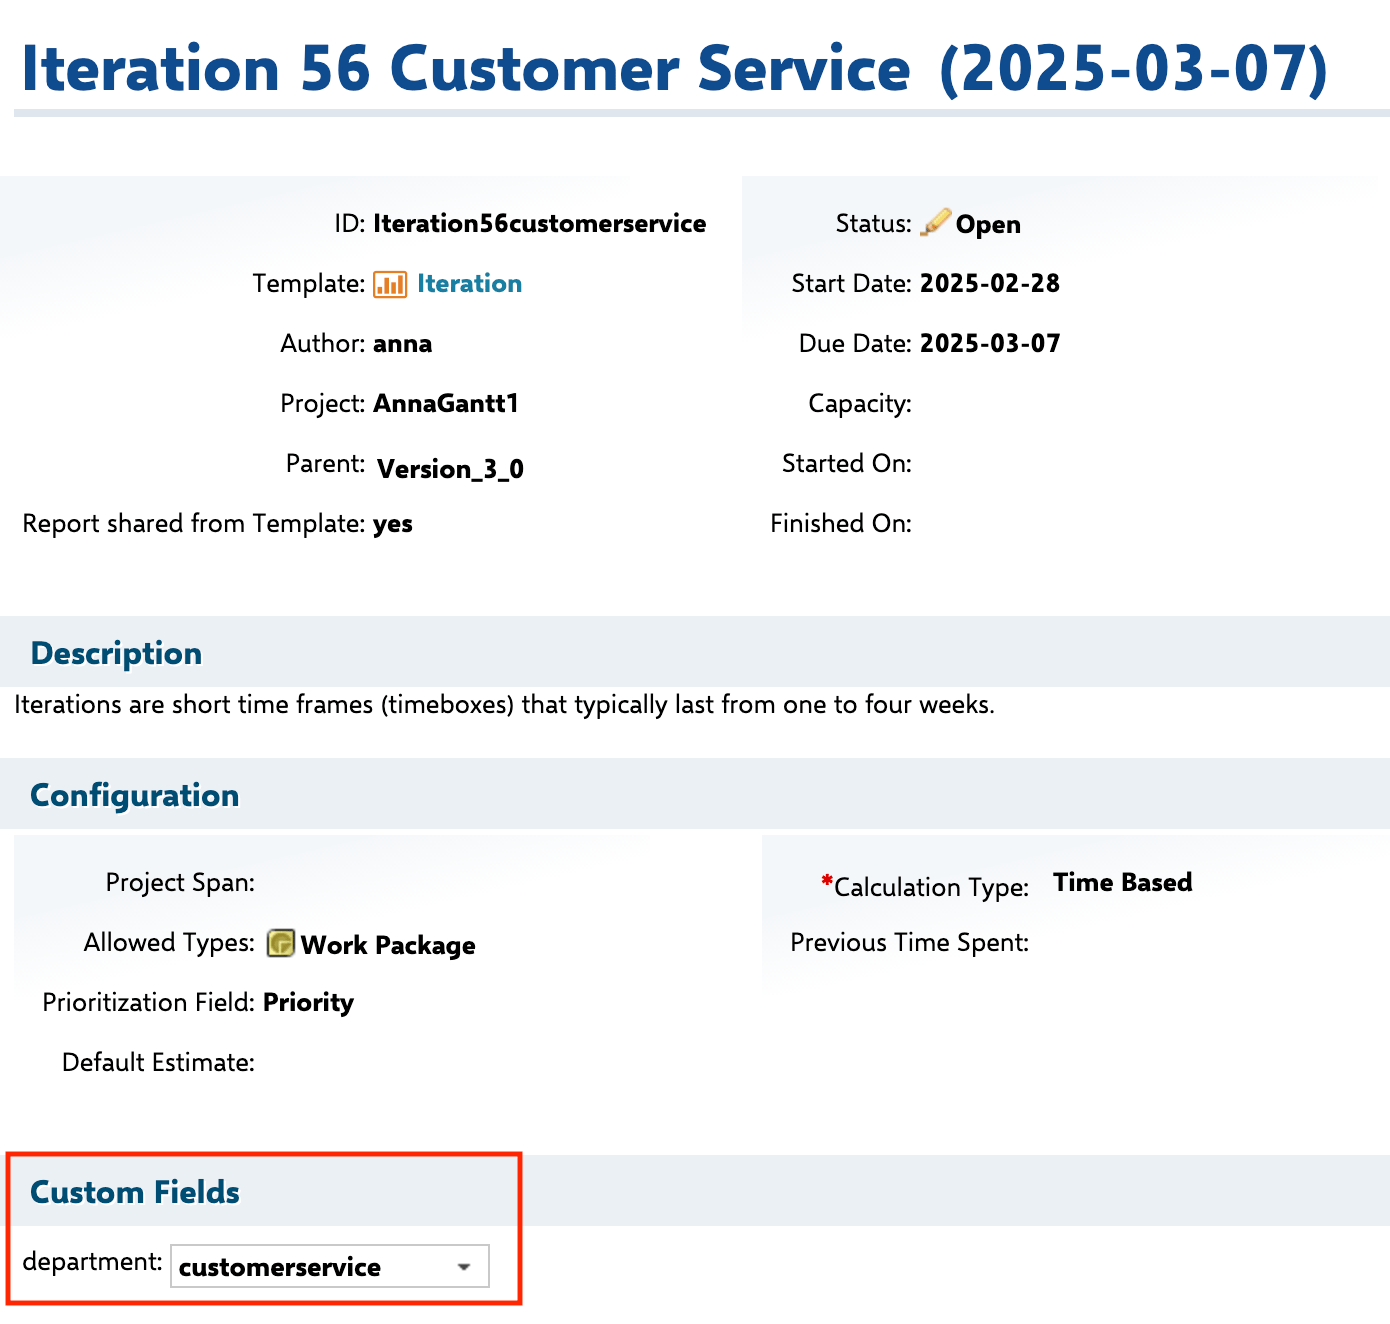
department to the same value on the work item and on the plan, for example customerservice on both.4
Set the context field property
In the project’s Administration > Configuration Properties, add the following property, where You need administration rights for the project to set this property.
department is the ID of the custom field you created:department value matches the work item’s. It is removed from plans of the selected templates whose value does not match.
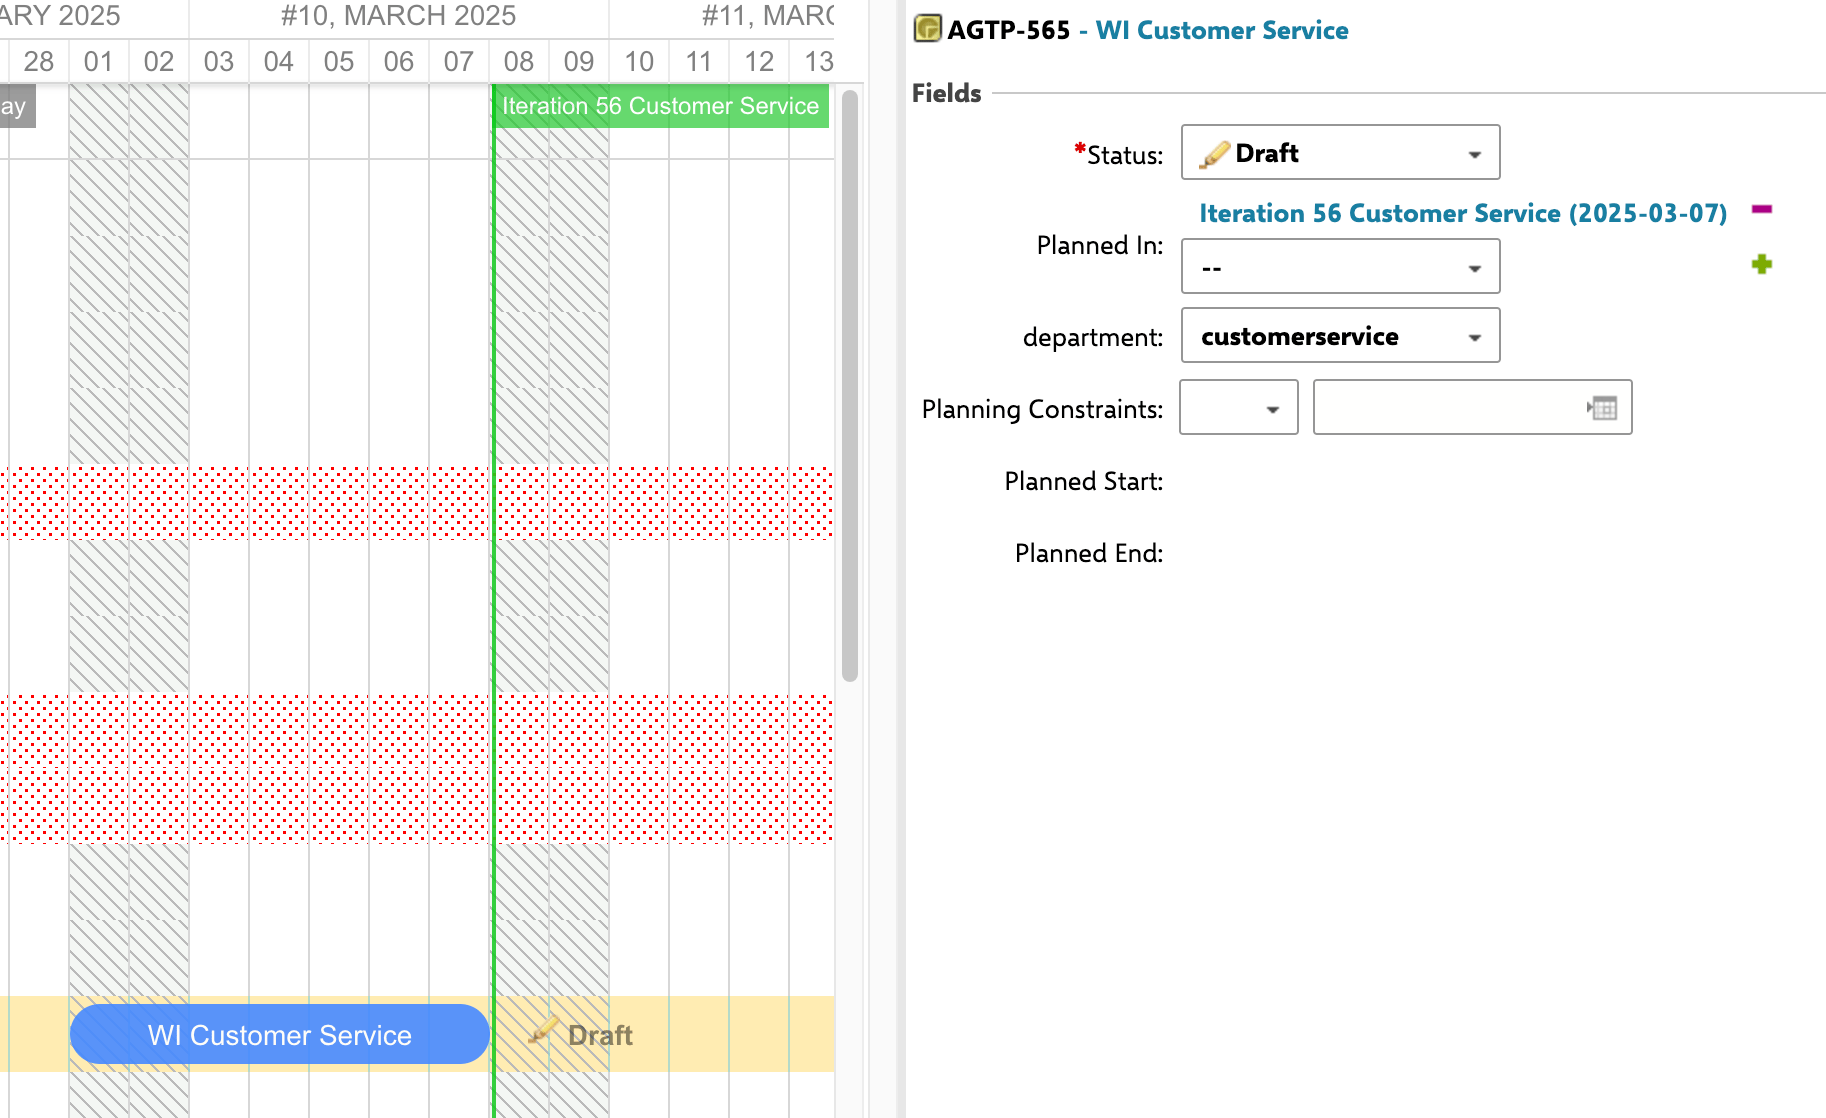
Verify
After configuring one of the above methods, reload the Gantt chart. You should now see work items positioned on the timeline according to their assigned plan dates. Unplanned items should display at their plan’s date range, and items withsyncToPlans enabled should automatically update plan membership when you drag and save them.