What You Will Achieve

After completing this tutorial, you will have:
  • A Polarion Info Page with a Work Items Gantt widget
  • Filtered work items displayed as task bars on the Gantt chart
  • Parent-child hierarchy showing grouped work items
  • Dependency roles configured for linking tasks
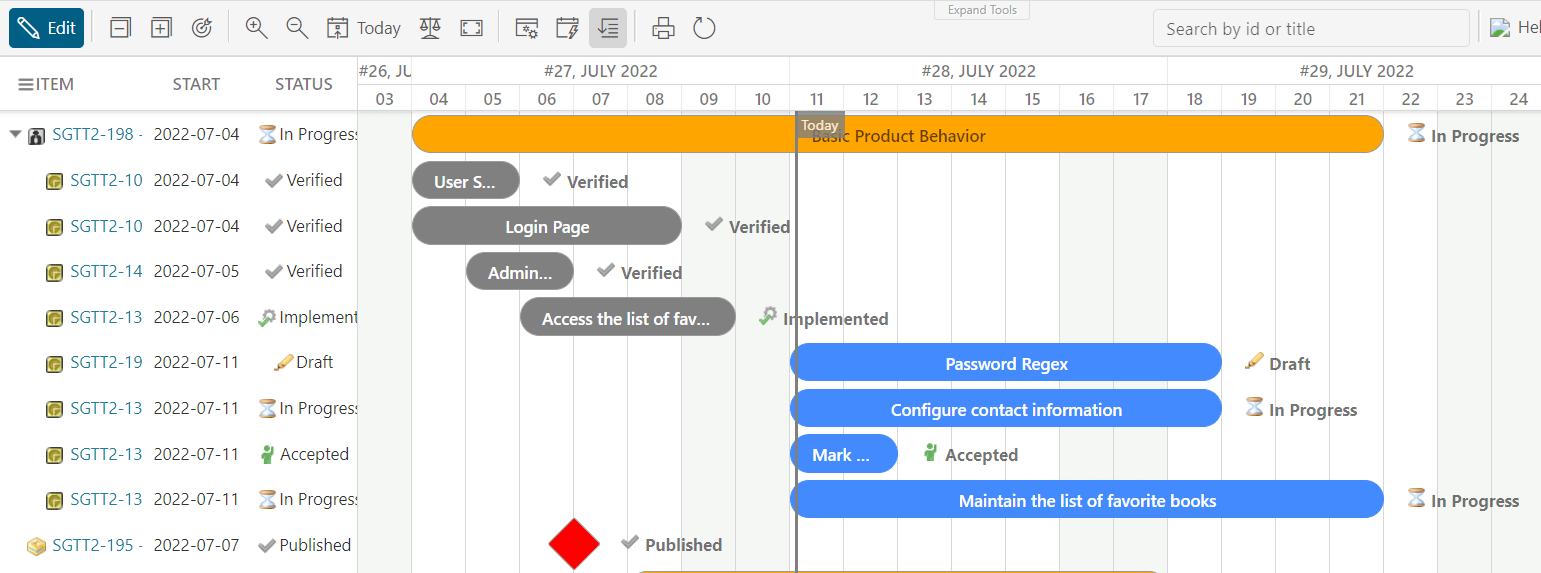
Finished Work Items Gantt chart showing E-Library template tasks as bars next to the Table view

Prerequisites

  • Gantt installed on your Polarion server
  • A Polarion project with existing work items (or use the E-Library template)
  • Edit permissions on the project’s Documents & Pages
If you are evaluating Gantt, consider starting with the demo project first. It provides a pre-configured Gantt chart you can explore immediately.
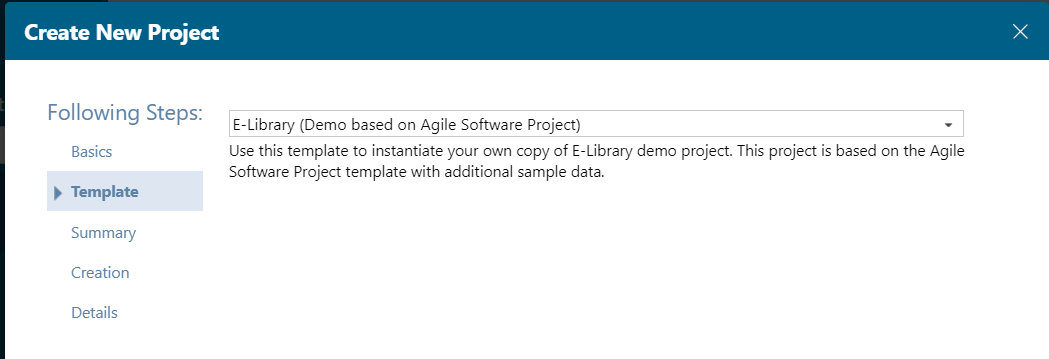
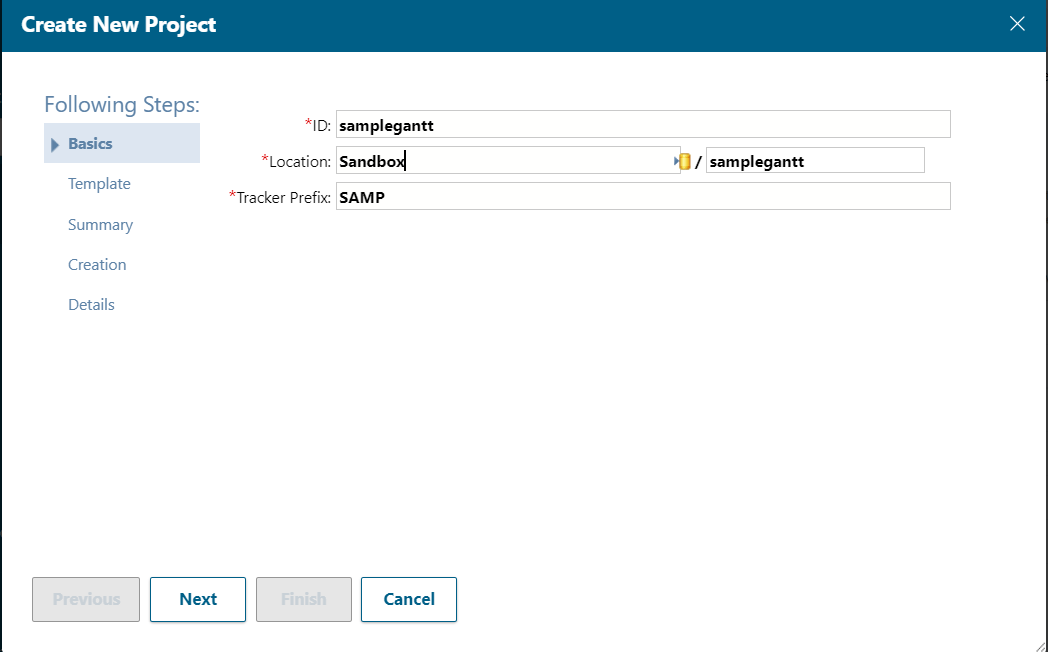
This tutorial follows a project created from the E-Library template, so you can repeat each step and reach the same result. Start by creating a new project and selecting the E-Library template from the template list.
Polarion new project creation wizard
Selecting the E-Library template from the Polarion project template list
1

Create an Info Page

  1. Open your Polarion project
  2. Navigate to Documents & Pages
  3. Select a space (for example, Default Space)
  4. Click Expand Tools in the upper toolbar
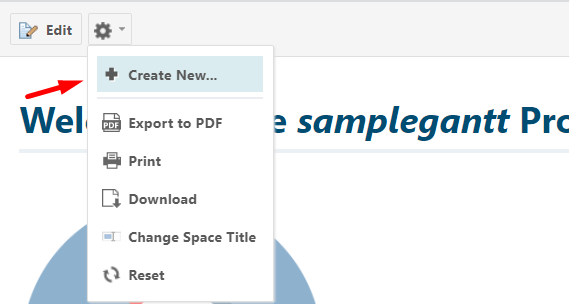
  5. Click the Gear button and select Create New
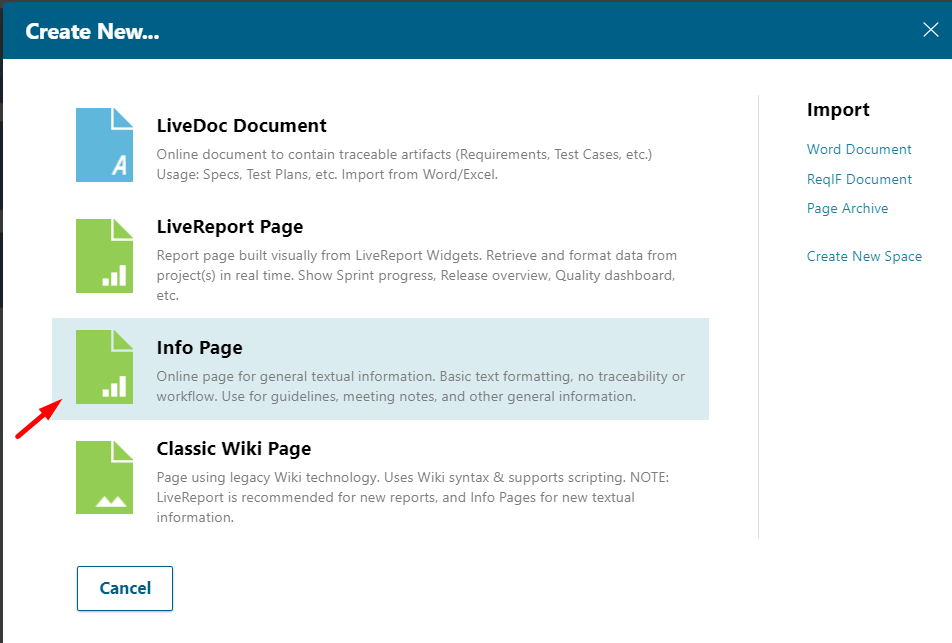
  6. Choose Info or LiveReport Page
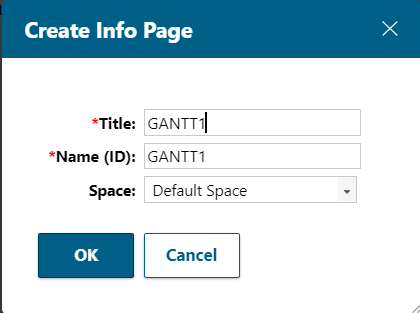
  7. Enter a title (for example, “Project Nextedy Gantt”) and click Create
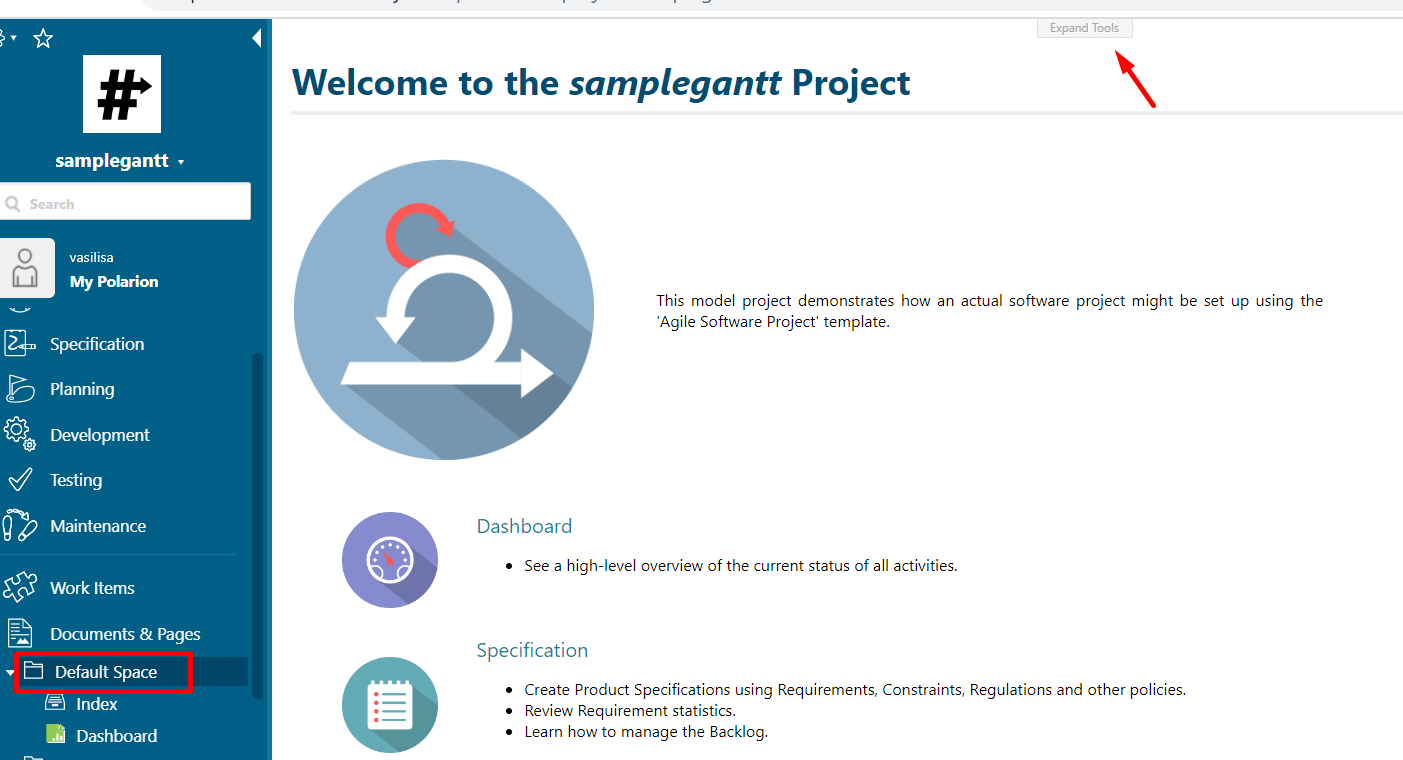
Default Space selected in Documents & Pages with Expand Tools in the upper toolbar
Gear button menu with Create New option in the page toolbar
Create New dialog with Info Page selected as the page type
Info Page title entry field with the Name (ID) generated automatically
You should see an empty page with the widget picker available on the right side.
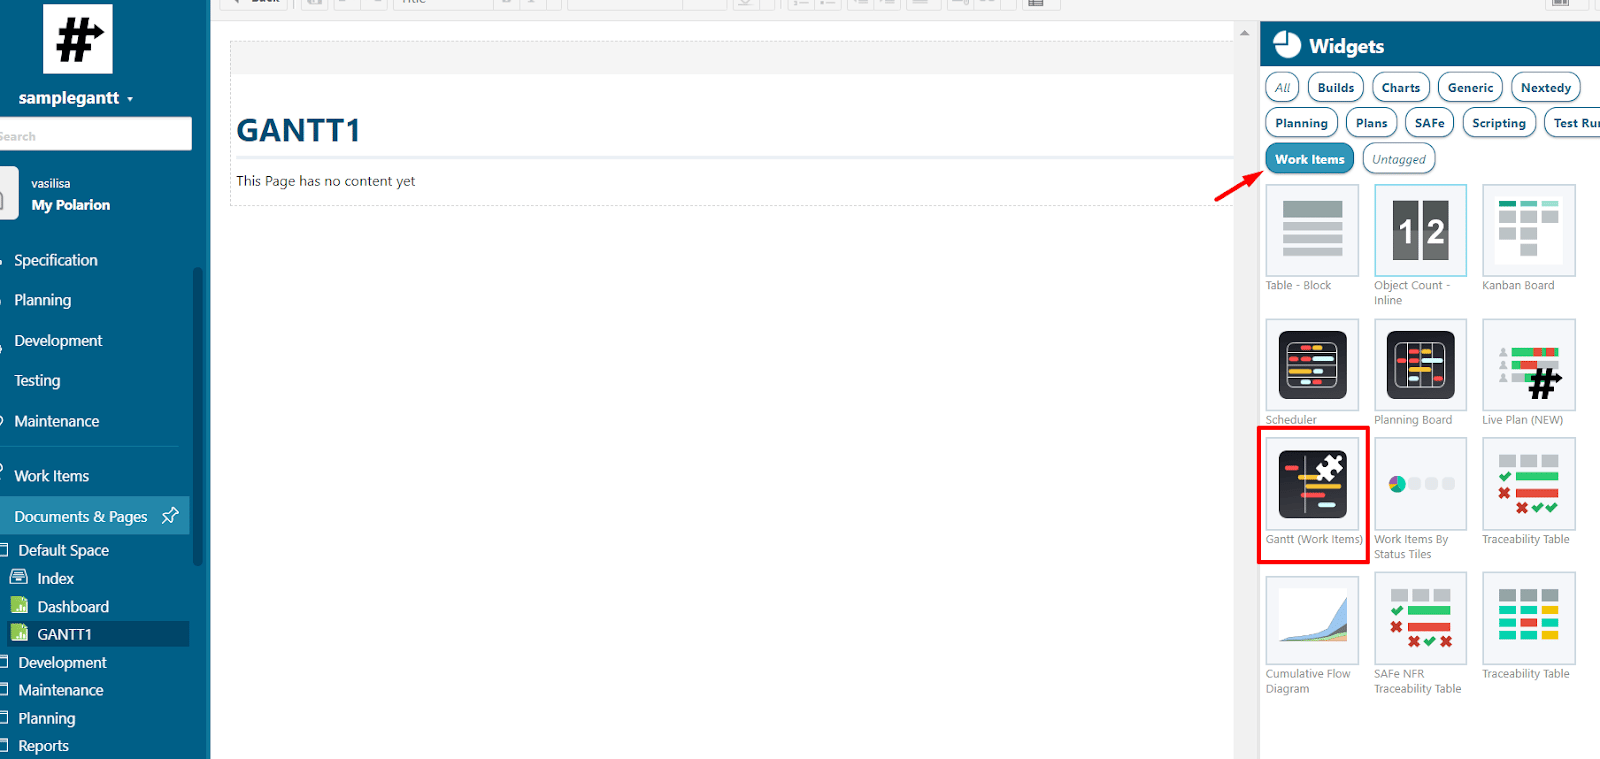
Empty Info Page GANTT1 added to the Default Space with the Widgets panel on the right
2

Add the Work Items Gantt Widget

In the widget picker on the right side of the page:
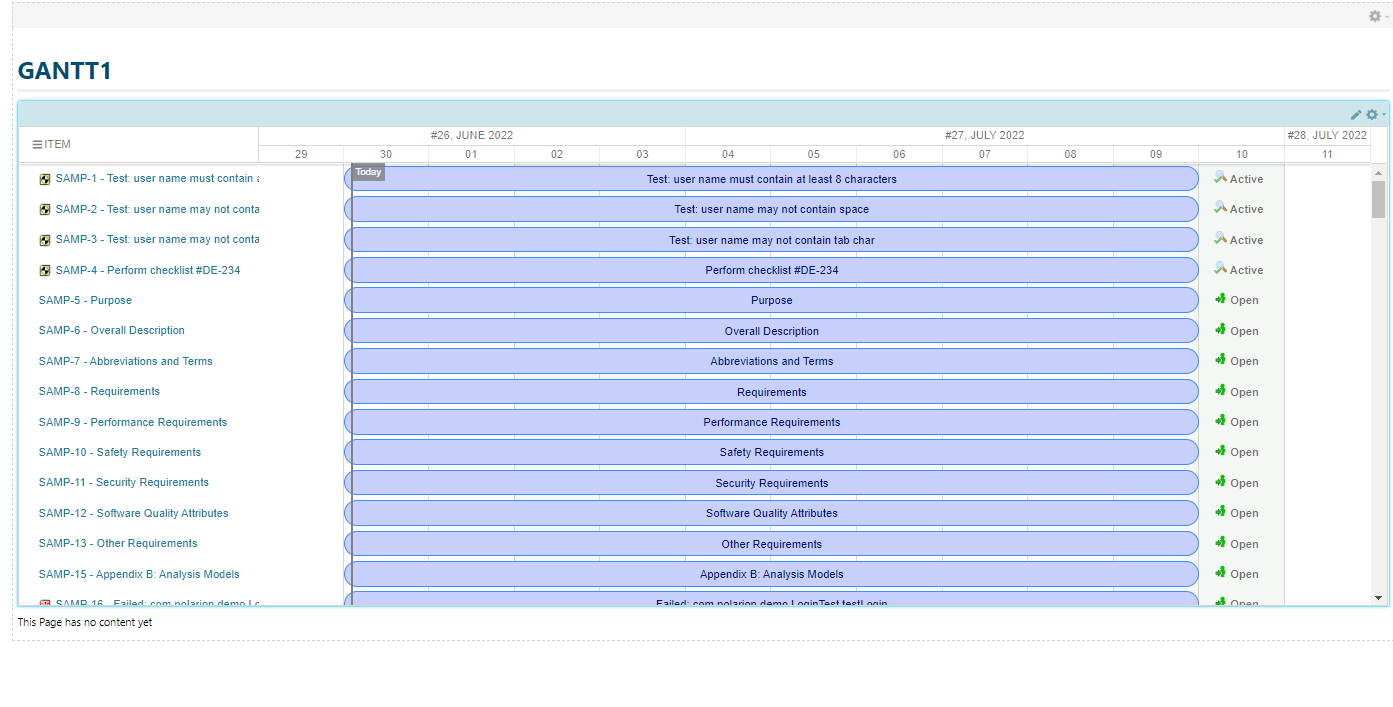
  1. Expand the Work Items category
  2. Select Gantt (Work Items)
  3. The widget loads onto your page, displaying all work items in the project
Gantt (Work Items) widget loaded with all work items from the E-Library template
Polarion shows two Gantt widgets: Gantt (Work Items) under the Work Items category displays individual work items. Gantt (Plans) under the Plans category displays Polarion Plans. For this tutorial, use the Work Items variant.
3

Filter Work Items by Type

By default, the Gantt loads all work items in the project. To show specific types:
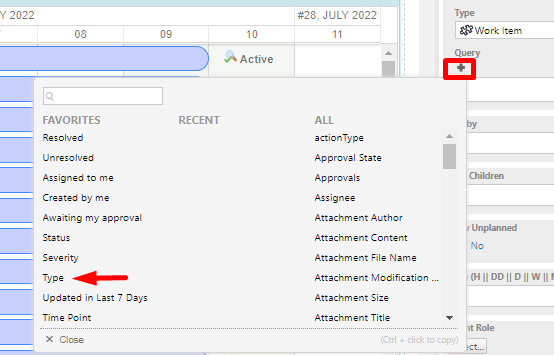
  1. Open the widget parameters (click the Edit button on the page, then the widget gear icon)
  2. In the Query section, click the + button to add a filter
  3. Select Type from the filter options
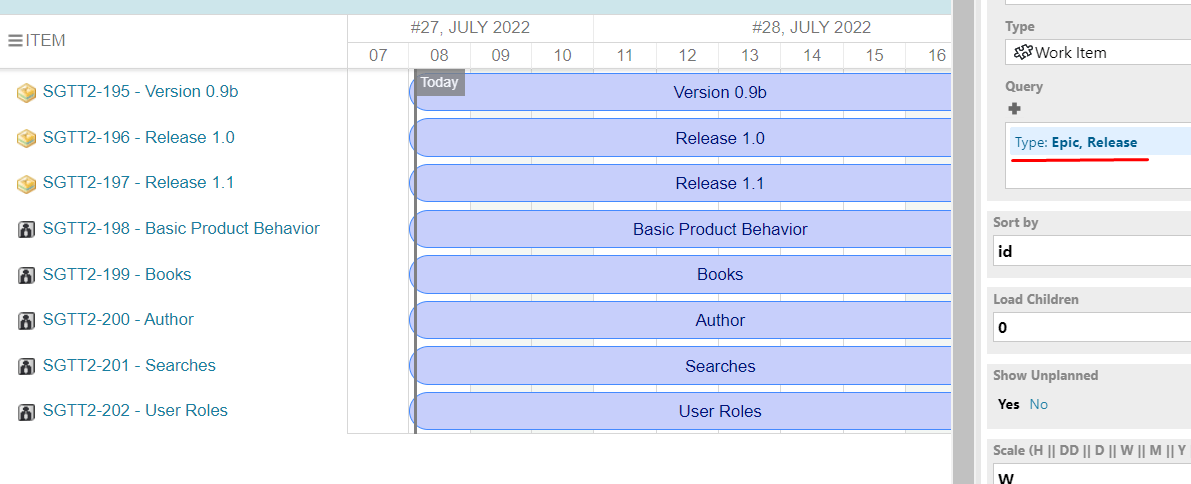
  4. Choose the work item types you want to display (for example, Epic and Release)
  5. Click Apply
Adding a new Query filter with the + button and selecting Type to filter work items
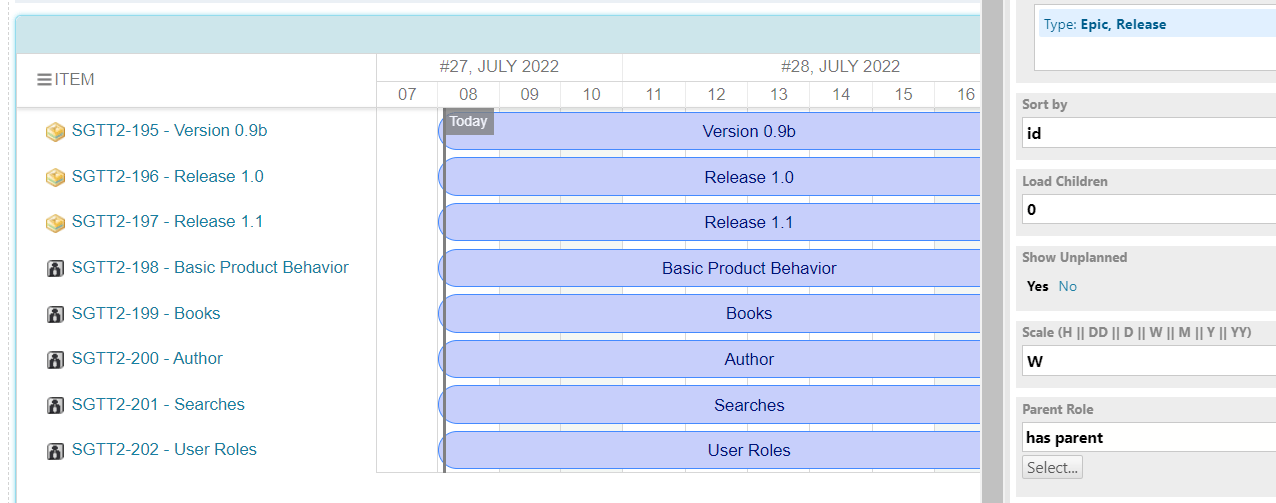
Choosing Epic and Release work item types in the Query filter before clicking Apply
You should see only the selected work item types displayed as task bars on the Gantt chart.
4

Enable Maximize Gantt View

To use the Gantt chart in full-page mode:
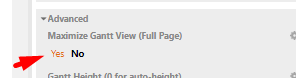
  1. In the widget parameters, scroll to the Advanced section
  2. Set Maximize Gantt View to Yes
  3. Click Apply
Maximize Gantt View set to Yes in the Advanced section of the widget parameters
The Gantt chart now fills the entire page area, giving you maximum working space.
5

Configure Parent-Child Hierarchy

The hierarchy of items on the Gantt chart is derived from work item link roles.
  1. In the widget parameters, find Parent Role
  2. Click Select and add the relevant link role (for example, has_parent) from the left list to the right
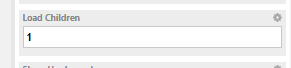
  3. Set Load Children to 1 to display one level of child items
  4. Click Apply
With Load Children set to 1 but no parent role configured yet, the chart does not change — the hierarchy is driven by the parent role.
Load Children set to 1 with no visible change because no parent role is configured yet
Select the parent role that links the items (for example, has_parent, which goes from Epic to User Story) and move it from the left list to the right.
Selecting the has parent role and moving it from the left list to the right in the Parent Role picker
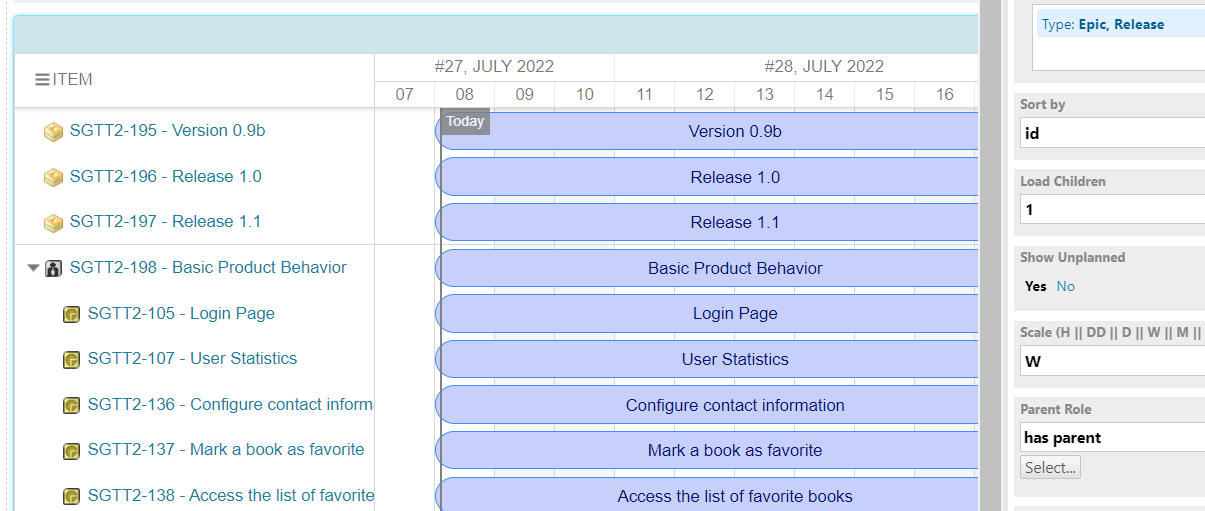
You should see child work items nested beneath their parents in the Gantt chart. Setting Load Children back to 0 hides the hierarchy again.
User Stories displayed as children nested under their Epic work items in the Gantt chart
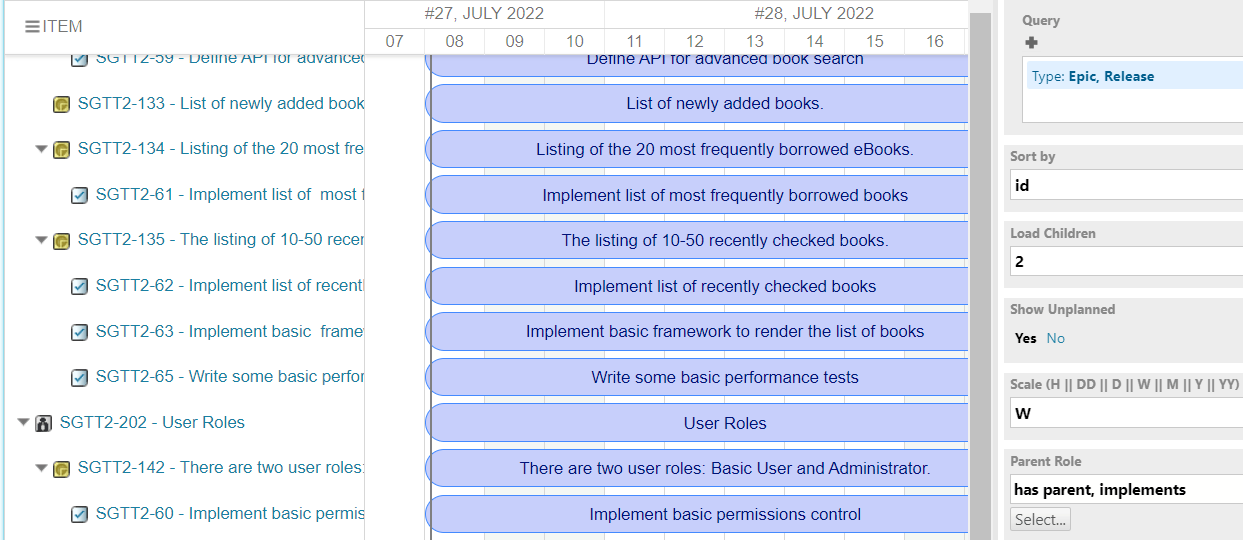
If you need deeper hierarchy (for example, Epic > User Story > Task), increase Load Children to 2 and add additional parent roles (for example, implements).
Two levels of parent-child hierarchy loaded: Epic, User Story, and Task
6

Configure Dependency Links

Dependency links are derived from work item link roles, just like parent-child relationships.

  1. In the widget parameters, find Dependency Role
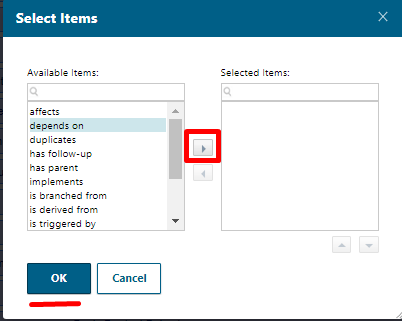
  2. Click Select and add the dependency link role (for example, depends_on)
  3. Click Apply
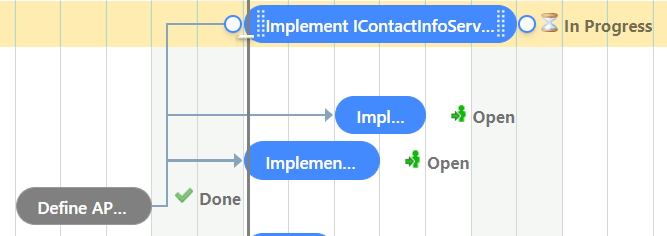
You should see dependency arrows drawn between linked work items on the Gantt chart. The first selected dependency role is used when creating new dependency links by dragging between task bars.
Adding the depends on link role to the Dependency Role parameter from the list
The depends on dependency role selected in the Gantt widget parameters
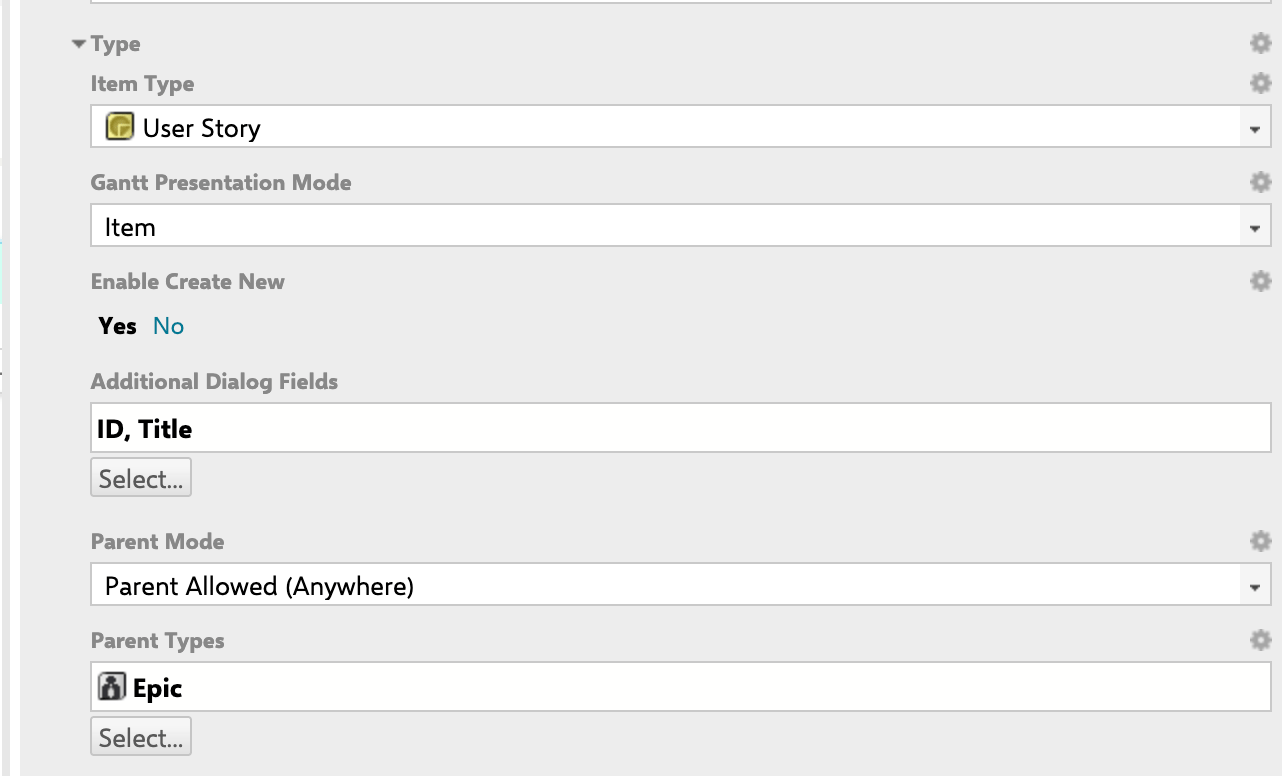
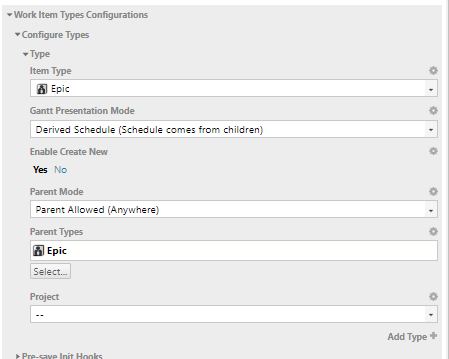
You can also control how items are created by setting the Parent Mode and representation mode per type — for example, allowing an Epic to have a parent only of the same Epic type, while a User Story (representation mode Item) can have an Epic as its parent.
SCR 20260629 Lhh
Parent Mode and representation mode configured per work item type for Epic and User Story
diagram
7

Save the Page

Before saving, note that the start date fields are Gantt settings rather than work item fields. Until you schedule the tasks, every item starts on TodayClick the Save button on the Polarion page toolbar to persist your widget configuration.
Saving the configured Gantt page with the Save icon in the upper-left of the screen
Widget parameter changes require saving the page in Edit mode. If you navigate away without saving, your configuration changes are lost.
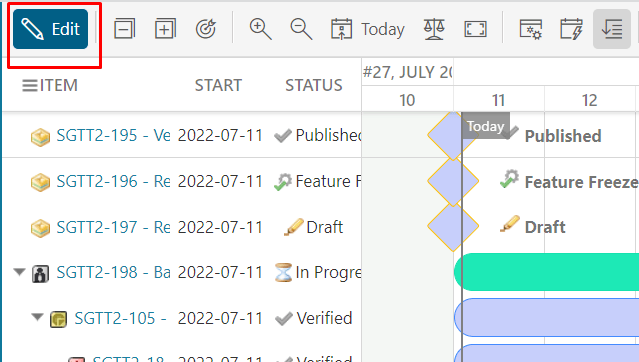
With the configuration saved, you can make the Gantt look organized by scheduling the tasks. Click the Edit button to start.
Clicking the Edit button to begin scheduling tasks on the saved Gantt chart
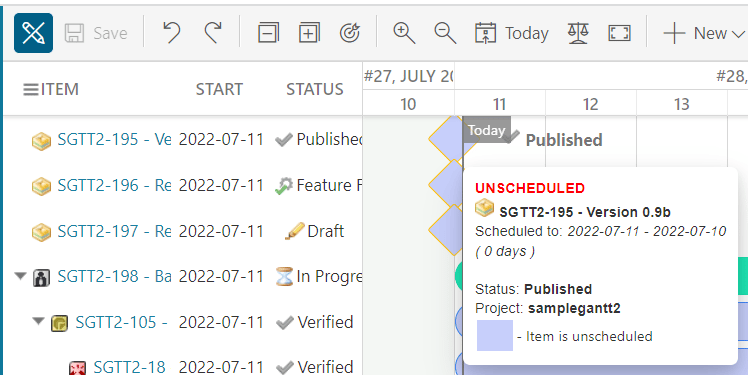
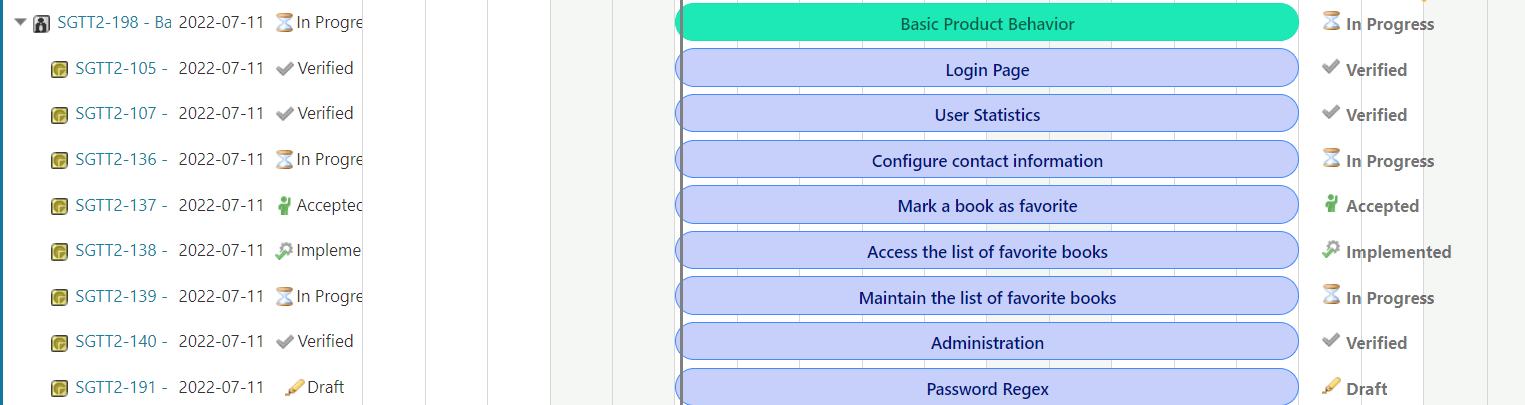
At this point every item is still unscheduled, which you can confirm by hovering over each one.
Unscheduled items shown when hovering over each task in the Gantt chart
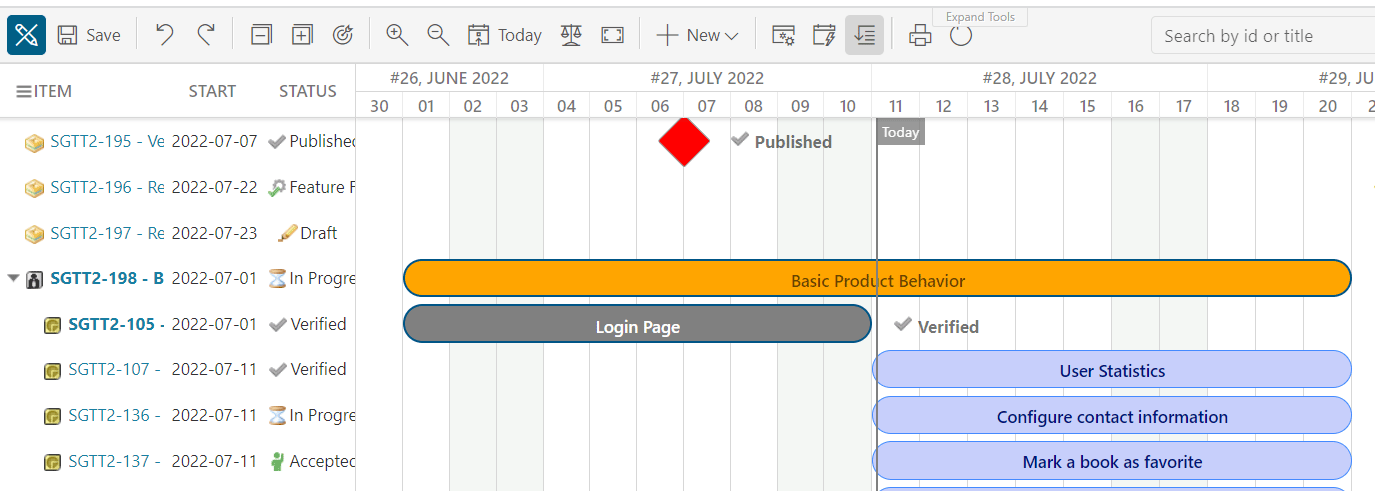
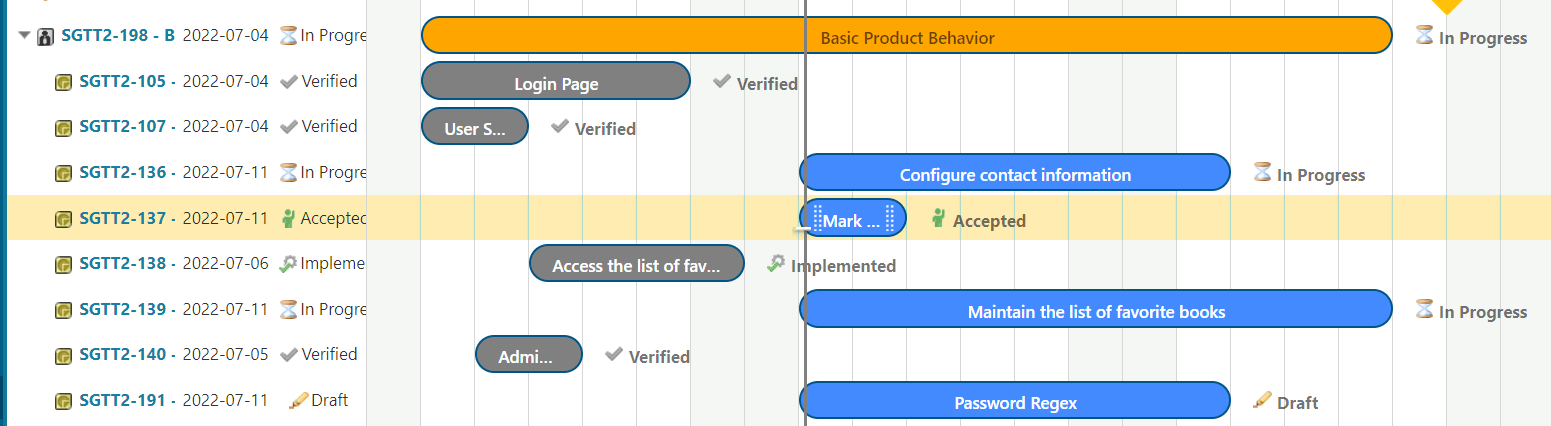
As you drag scheduled tasks into the past, the parent bar moves with them because it has a derived schedule that always spans all of its children.
Parent bar moving left to cover its children because of its derived schedule
Derived parent schedule spanning the full range of its scheduled child tasks
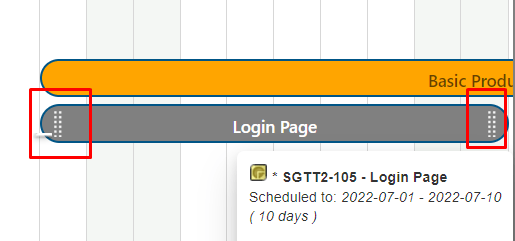
By default each task is scheduled for 10 days. Use the small white dots on either side of a task bar to drag it longer or shorter.
White drag handles on both sides of a task bar used to change its duration
Change the duration of the first task to 5 days by dragging the white dots, repeat for the remaining tasks, then save.
Tasks with adjusted durations after dragging the handles and saving the changes
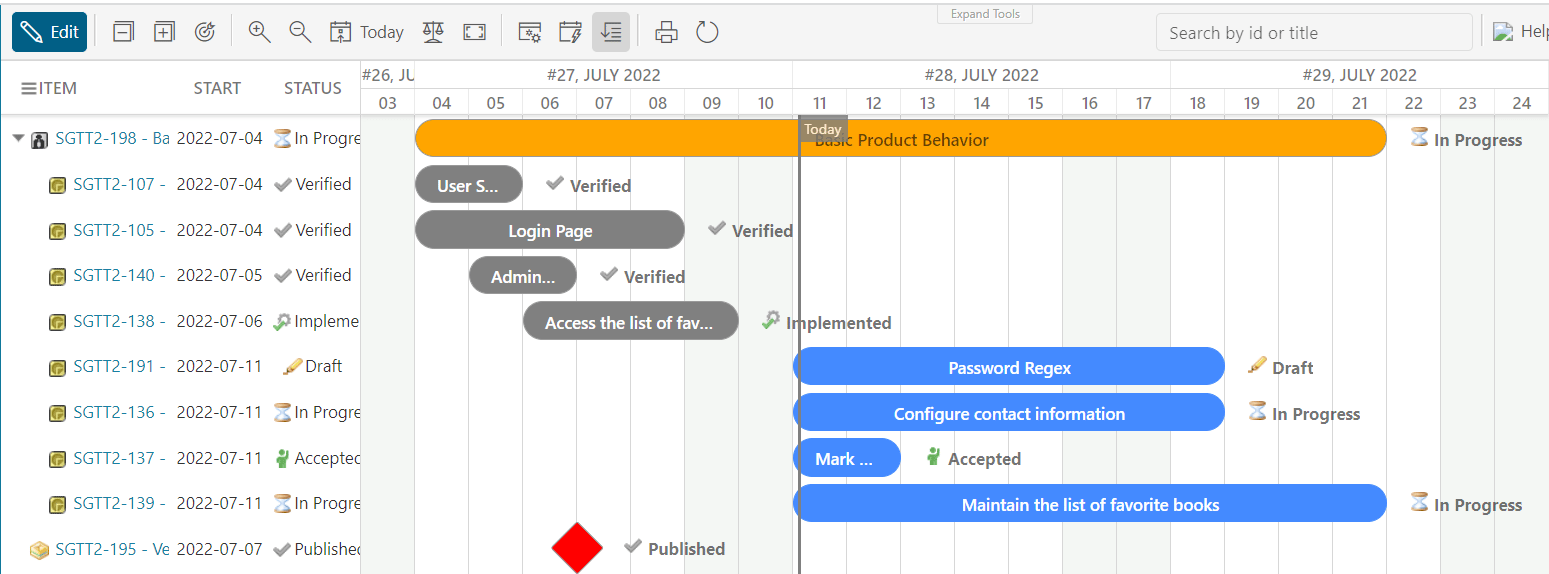
To order the tasks from the nearest start date to the latest, open Nextedy Gantt Widget Parameters > Sort by and change it from ID to gantt_start, then apply and save.
Tasks sorted from earliest to latest start date after setting Sort by to gantt_start
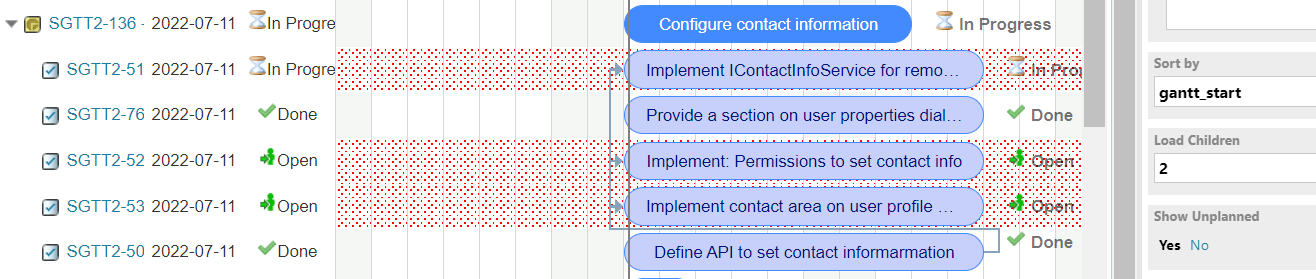
Increasing Load Children from 1 to 2 loads the Tasks again, revealing a red-dotted background on some of them.
Red-dotted background reappearing on tasks after loading the deeper child level
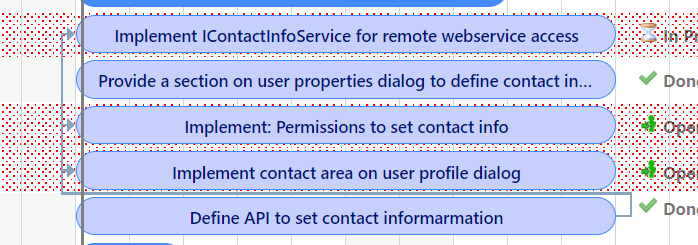
The red-dotted background marks unscheduled tasks with dependency links; hovering shows a “Dependency constraint violation” message where a link runs from the end of one task to the start of others.
Dependency constraint violation shown on unscheduled tasks linked by dependencies
Schedule the tasks so the first one ends before the dependent tasks start, which resolves the violations and keeps your team aware of task dependencies.
Dependent tasks rescheduled so the controlling task ends before they start, resolving the violations

Key Widget Parameters Summary

Next Steps

Last modified on July 10, 2026