> ## Documentation Index
> Fetch the complete documentation index at: https://learn.nextedy.com/llms.txt
> Use this file to discover all available pages before exploring further.
# Add Risksheet to Existing Project
> Enable Nextedy RISKSHEET in a Siemens Polarion ALM project that was not created from a Nextedy template by configuring work item types, document types, and navigation topics.
export const LastReviewed = ({date}) => {
if (!date) return null;
const formatted = new Date(`${date}T00:00:00Z`).toLocaleDateString("en-US", {
year: "numeric",
month: "long",
day: "numeric",
timeZone: "UTC"
});
return
Last reviewed on {formatted}
;
};
## Prerequisites
* Polarion administrator access
* Risksheet plugin installed on the server
* The Nextedy demo project installed via **Administration > Nextedy Risksheet > Setup**
Before adding Risksheet to an existing project, you must install the Nextedy demo project from the Setup page. This makes the Risksheet topic and default templates available. Without this step, the `risksheet` topic will not be recognized.
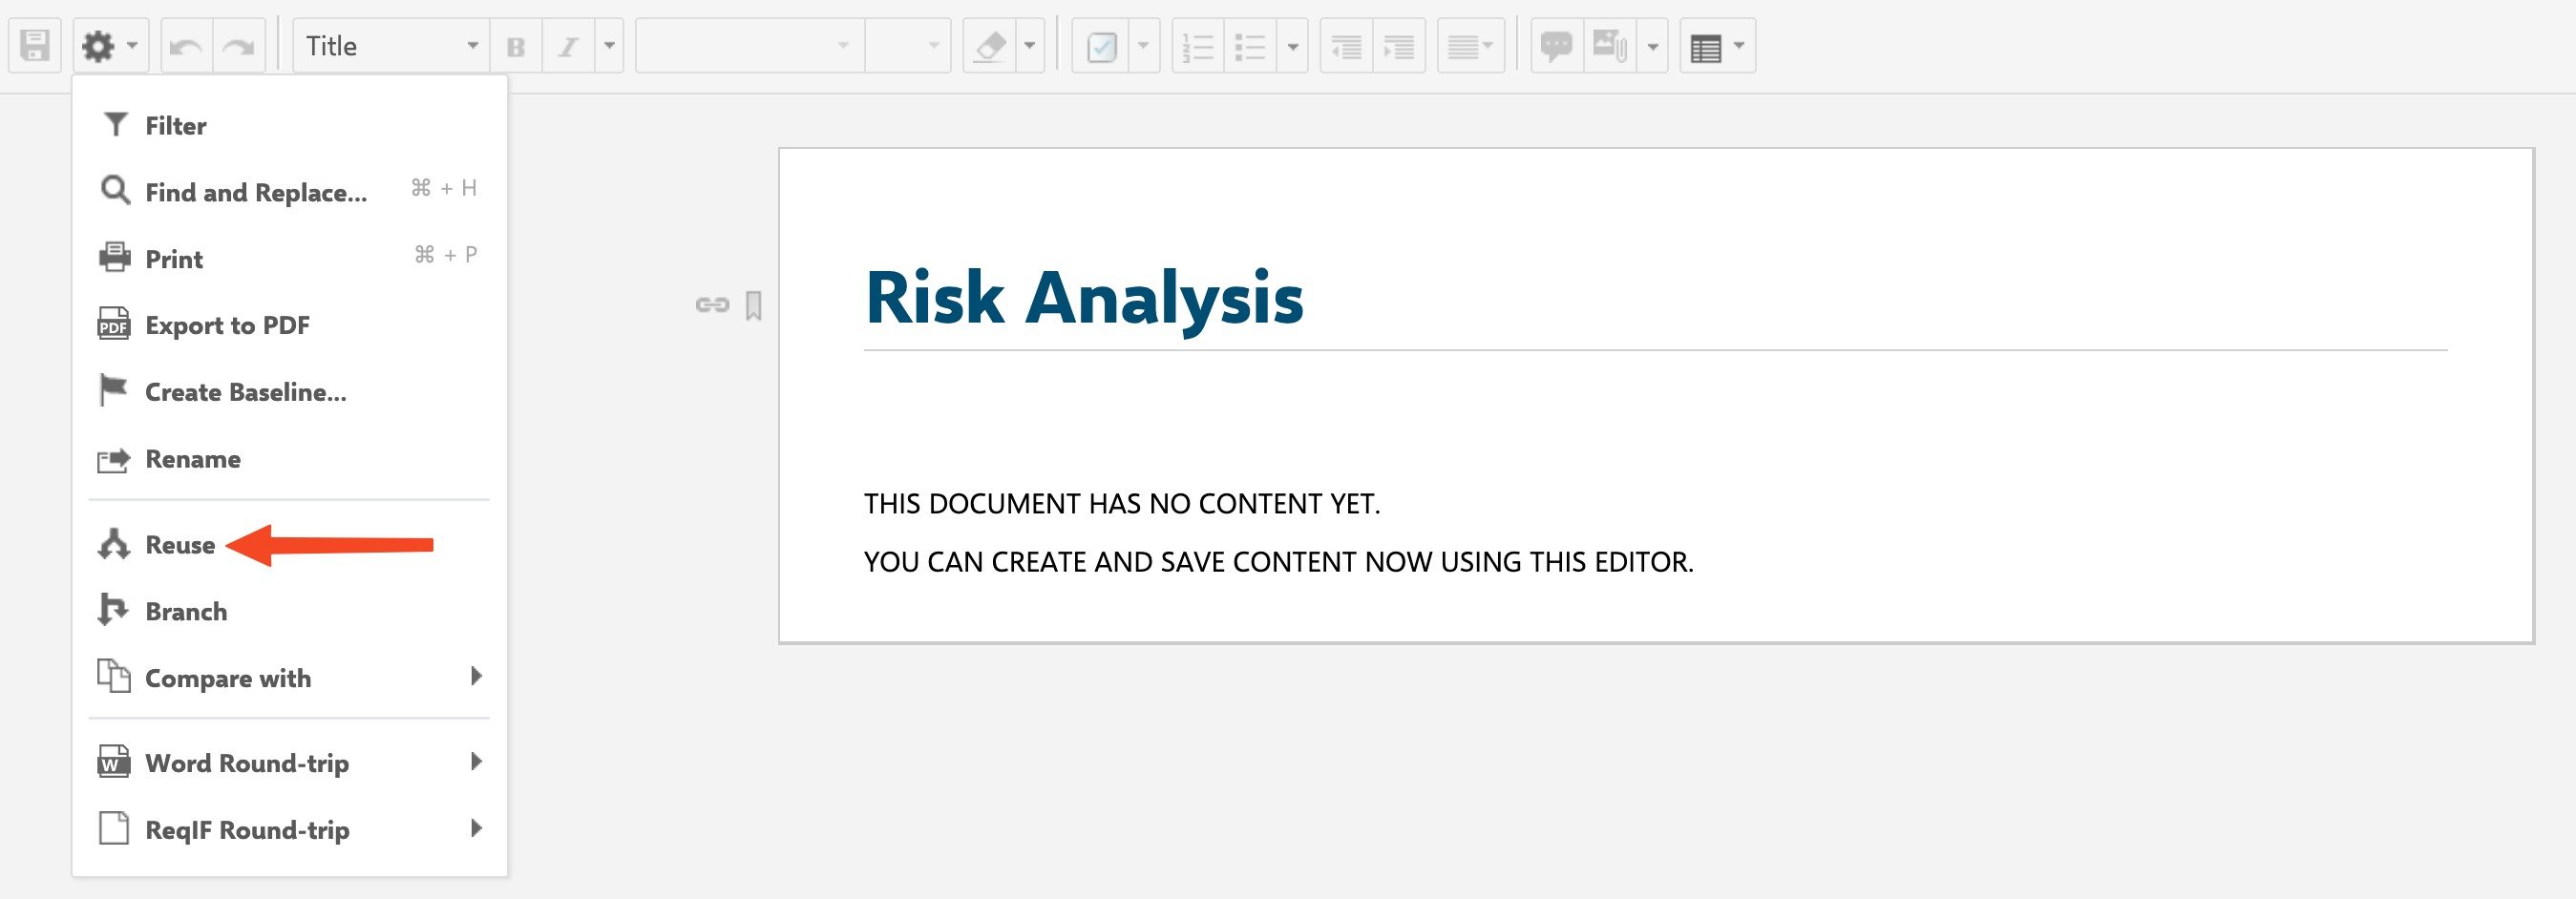
Do **not** use Polarion's built-in document Reuse function to clone a Risksheet document into another project or location. Reuse creates unnecessary duplication of the sheet configuration attachments and breaks the link between a document and its template. To share configuration across projects or documents, use template inheritance through the `templateDoc` custom field instead (see Step 3).
 1. Navigate to **Administration > Nextedy Risksheet > Setup**.
2. Click the install button to deploy the default Risksheet templates.
3. Verify the templates (`risksheet_template` and `risksheet_templateHara`) are listed.
The setup process installs two starter templates: one for a typical FMEA (Failure Mode and Effects Analysis) risk analysis and one for HARA (Hazard Analysis and Risk Assessment) workflows. Risksheet itself is a generic tool supporting any risk management methodology — including FMEA, HARA, TARA (Threat Analysis and Risk Assessment), STRIDE, and CVSS (Common Vulnerability Scoring System) — and Nextedy provides solution templates for typical methodologies across industries.
Ensure your project has a work item type for risk items. Risksheet does not require specific fields or work item types — it is fully configurable for any work item type.
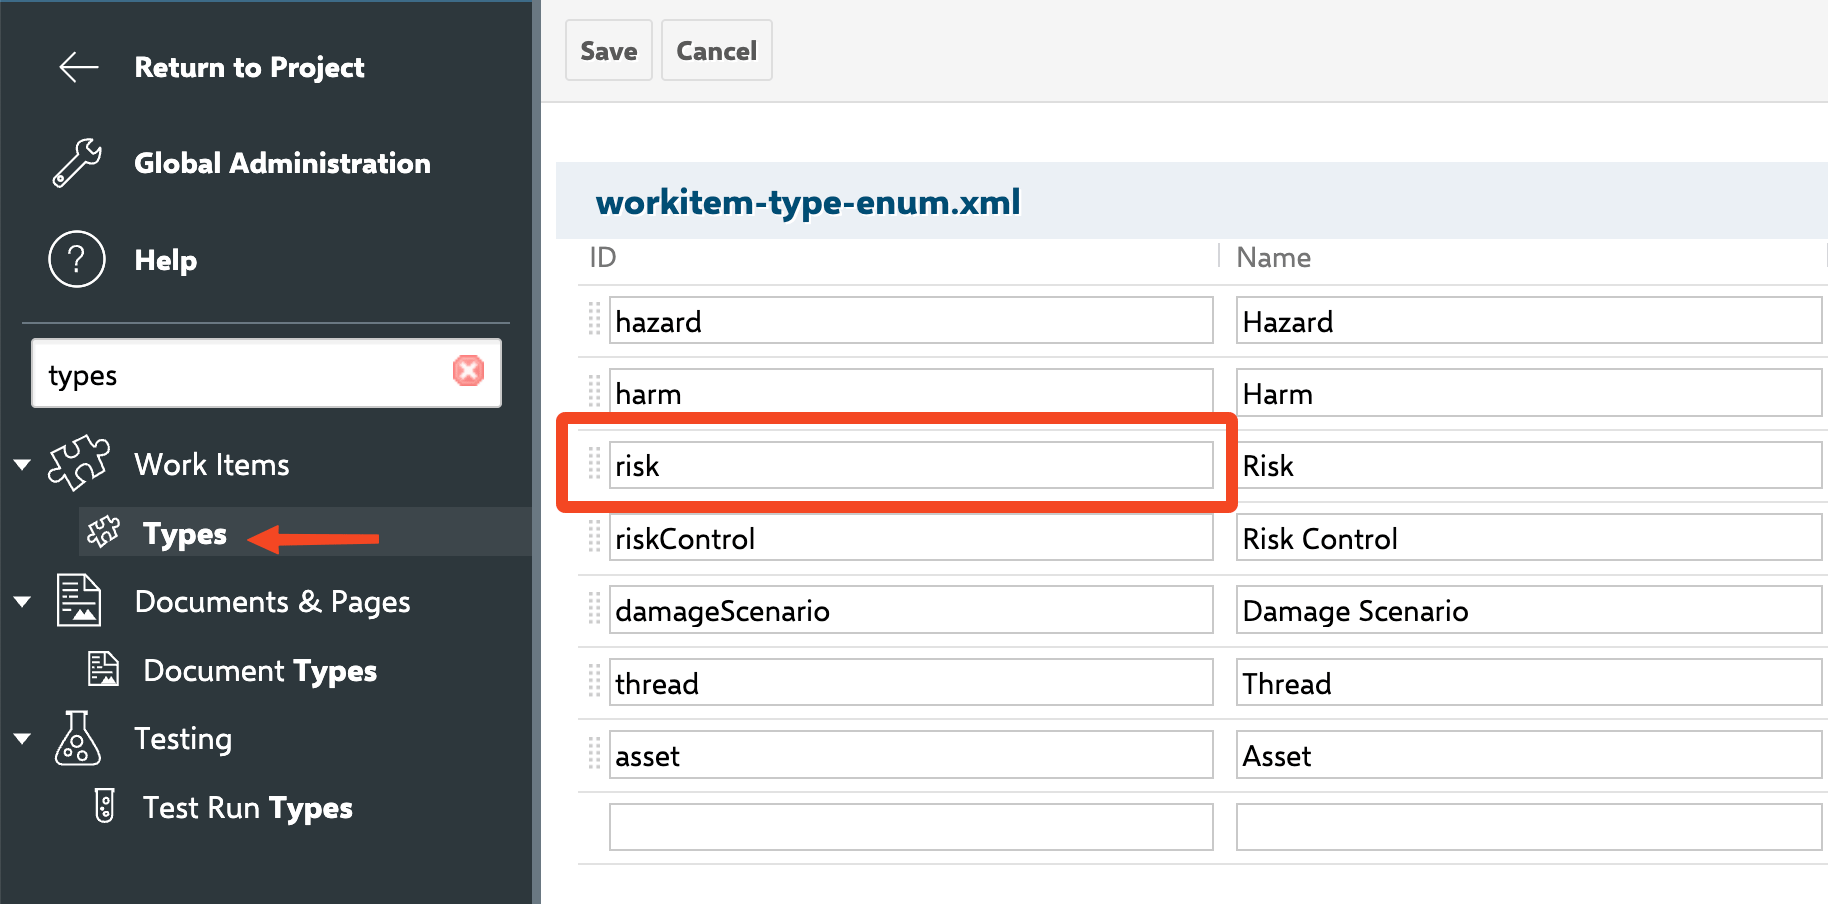
1. Navigate to **Administration > Work Items > Types** in your project.
2. Verify you have a risk-related work item type (for example, `risk`, `failureMode`, or any custom type).
3. If needed, create a new work item type for risk items.
Risksheet does not introduce a separate data store. All risk items remain standard Polarion work items, subject to Polarion authorization and fully traceable via Polarion's audit infrastructure.
1. Navigate to **Administration > Nextedy Risksheet > Setup**.
2. Click the install button to deploy the default Risksheet templates.
3. Verify the templates (`risksheet_template` and `risksheet_templateHara`) are listed.
The setup process installs two starter templates: one for a typical FMEA (Failure Mode and Effects Analysis) risk analysis and one for HARA (Hazard Analysis and Risk Assessment) workflows. Risksheet itself is a generic tool supporting any risk management methodology — including FMEA, HARA, TARA (Threat Analysis and Risk Assessment), STRIDE, and CVSS (Common Vulnerability Scoring System) — and Nextedy provides solution templates for typical methodologies across industries.
Ensure your project has a work item type for risk items. Risksheet does not require specific fields or work item types — it is fully configurable for any work item type.
1. Navigate to **Administration > Work Items > Types** in your project.
2. Verify you have a risk-related work item type (for example, `risk`, `failureMode`, or any custom type).
3. If needed, create a new work item type for risk items.
Risksheet does not introduce a separate data store. All risk items remain standard Polarion work items, subject to Polarion authorization and fully traceable via Polarion's audit infrastructure.
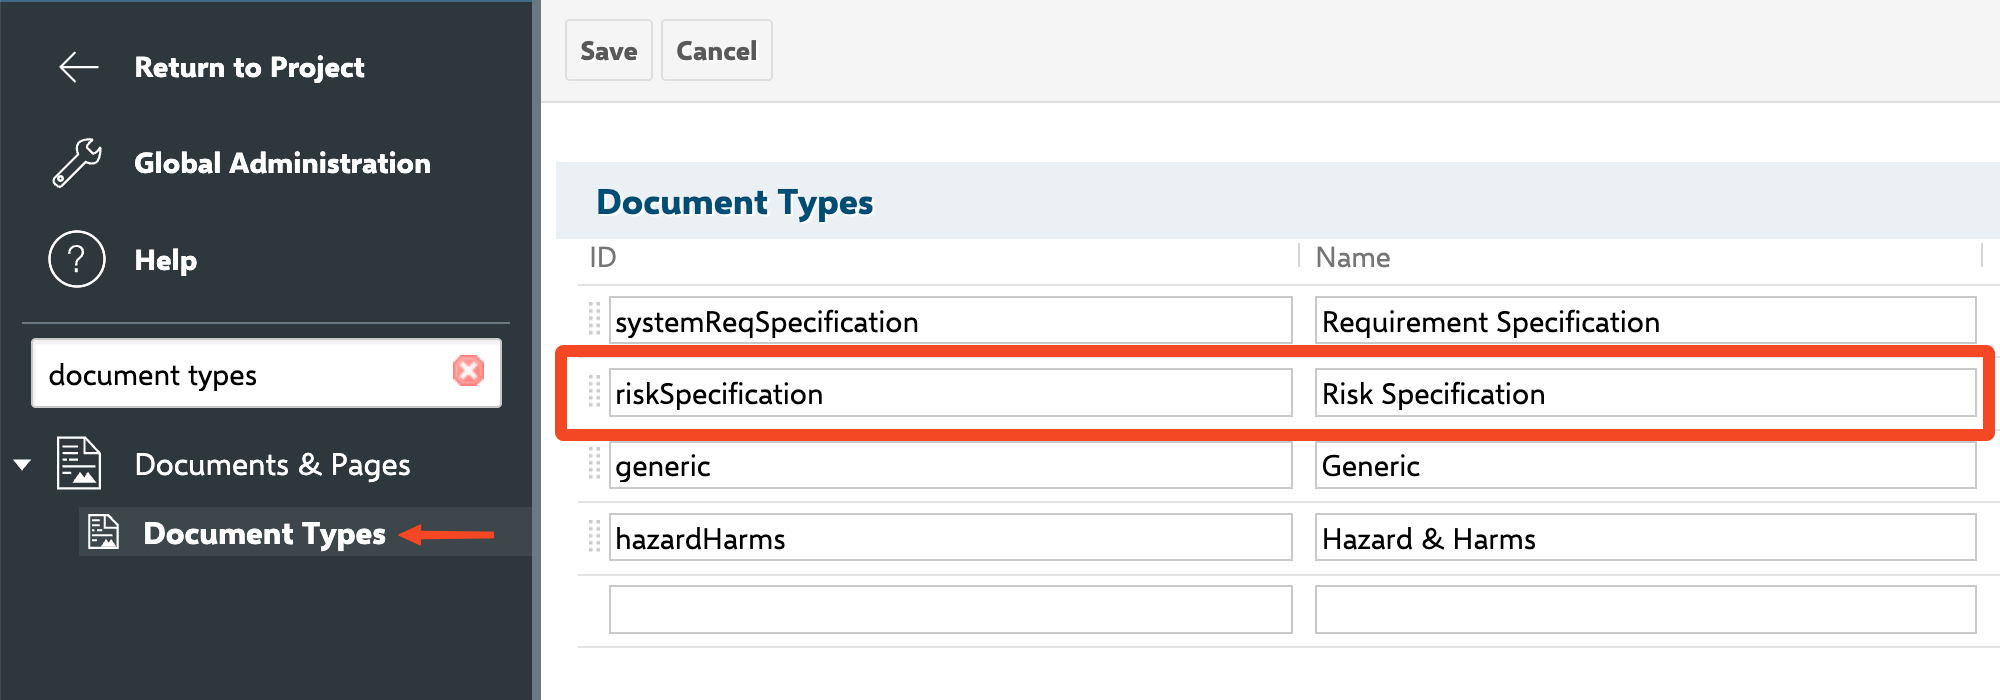
 Set up a document type with the Risksheet property, and configure the `templateDoc` custom field that connects each document to its template:
1. Navigate to **Administration > Documents & Pages > Document Types** in your project.
2. Create or edit a document type (for example, `riskSpecification`).
3. Add the Polarion configuration property `nextedy.risksheet.riskDocumentType` and set its value to your document type.
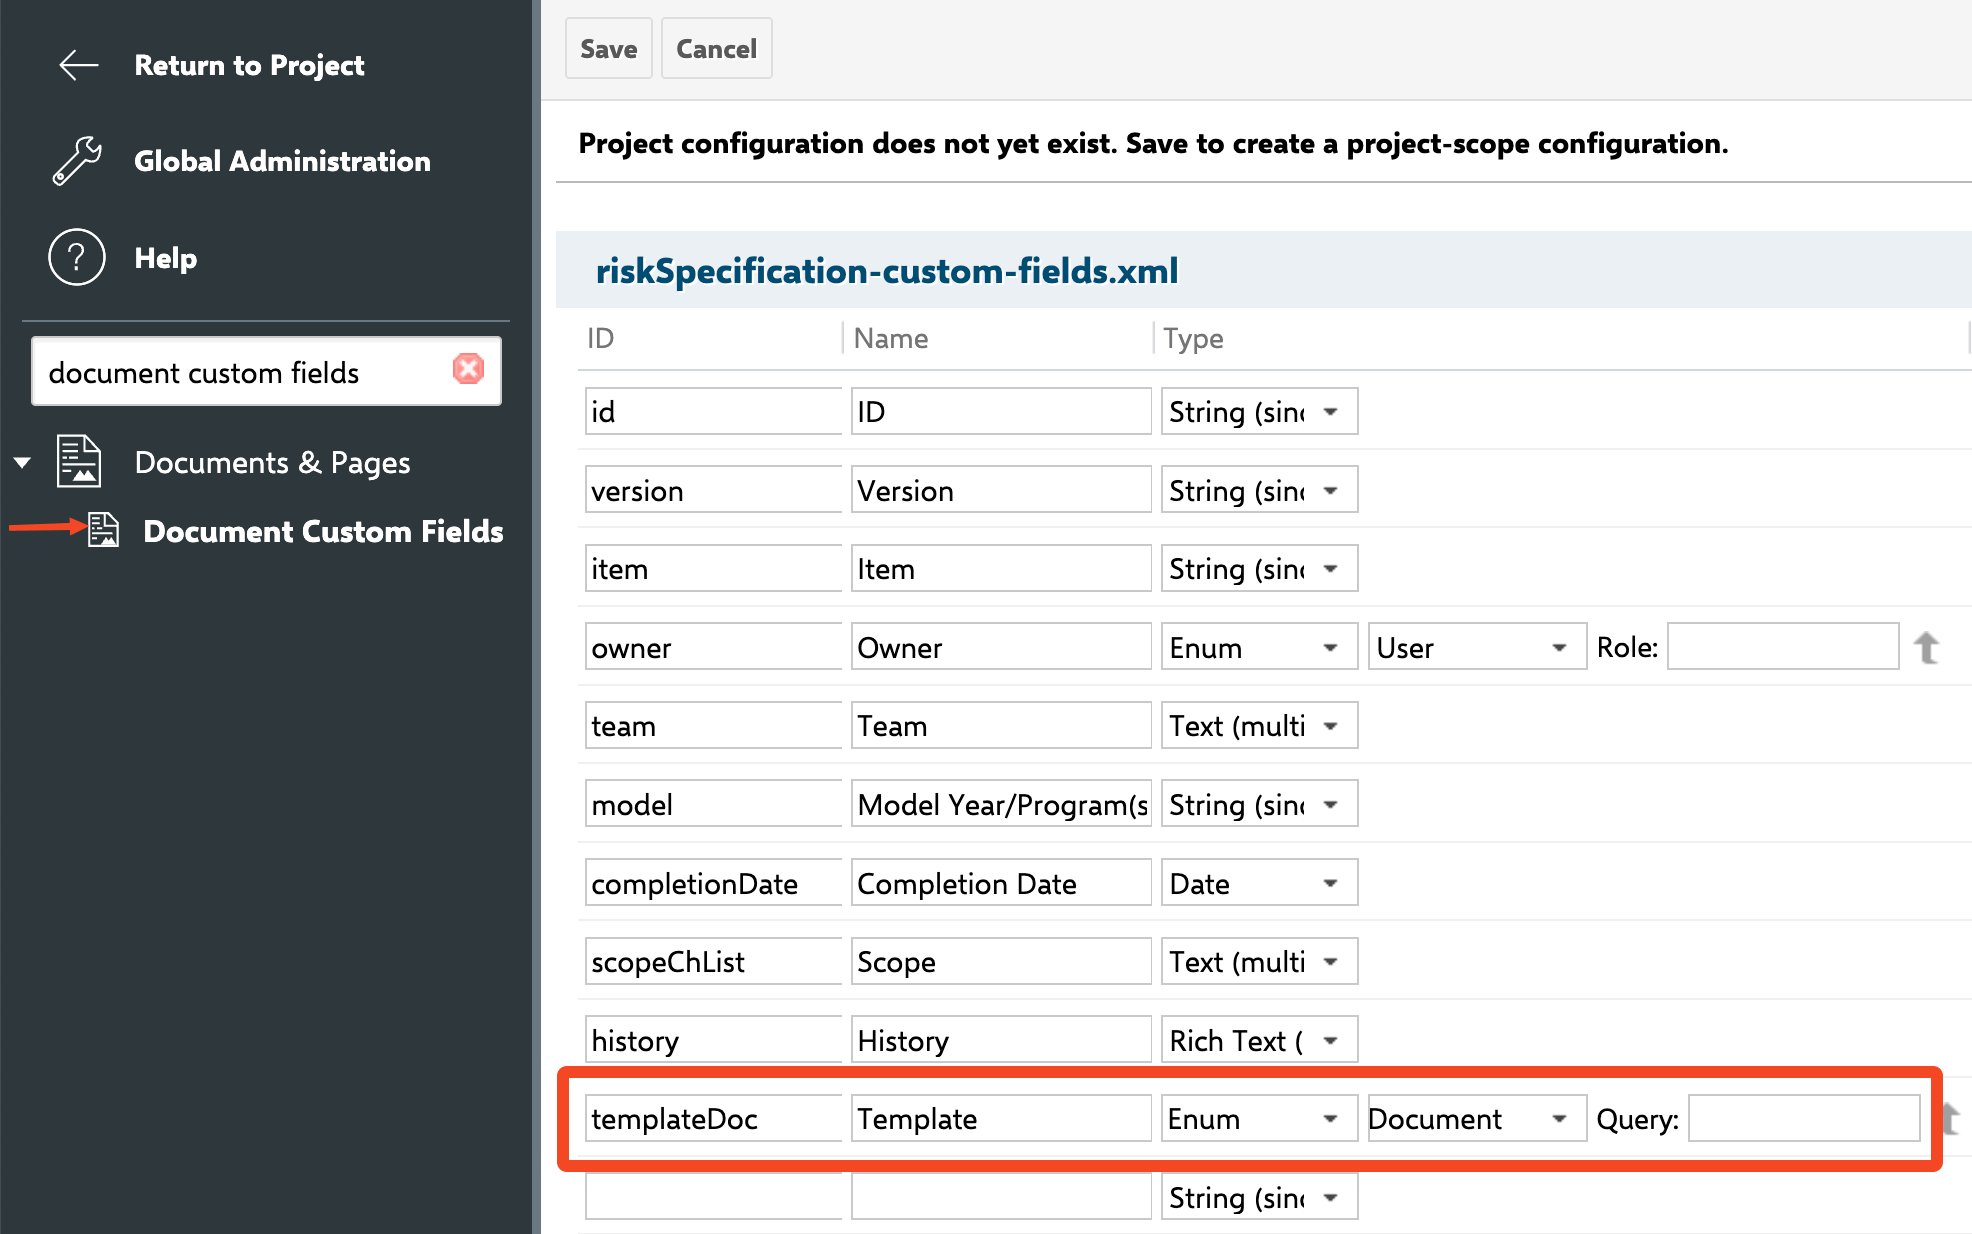
4. Add a `templateDoc` custom field to the document type with field type **`enum:@document`** — Polarion's built-in document-reference enumeration. This field holds the connection between a Risksheet document and the template document it inherits its sheet configuration from.
Set up a document type with the Risksheet property, and configure the `templateDoc` custom field that connects each document to its template:
1. Navigate to **Administration > Documents & Pages > Document Types** in your project.
2. Create or edit a document type (for example, `riskSpecification`).
3. Add the Polarion configuration property `nextedy.risksheet.riskDocumentType` and set its value to your document type.
4. Add a `templateDoc` custom field to the document type with field type **`enum:@document`** — Polarion's built-in document-reference enumeration. This field holds the connection between a Risksheet document and the template document it inherits its sheet configuration from.
 The `templateDoc` custom field on individual Risksheet documents must be defined with type **`enum:@document`** — the special `@document` built-in enum that produces a document-reference picker. In the field definition this looks like ``. Do not use a plain string or text type, and do not use a custom document-type enum — the picker behavior depends on the built-in `@document` enumeration. (The analogous user-reference field type is `enum:@user`, as used by fields such as `owner`.)
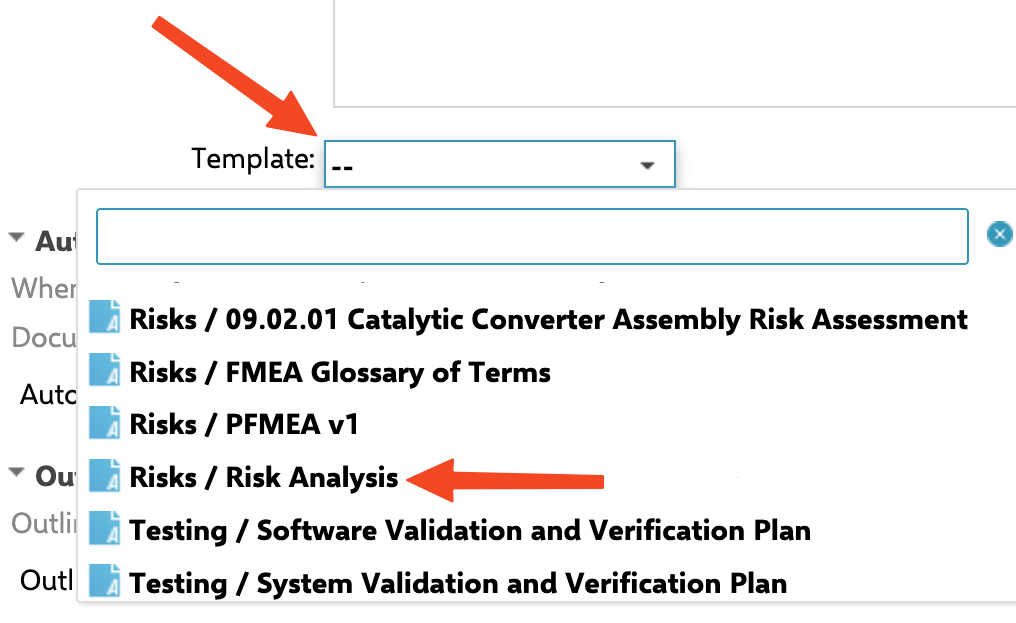 The `nextedy.risksheet.riskDocumentType` property supports multiple document types using parenthesized syntax if you need Risksheet to work with different document categories.
Set up where users can create new Risksheet documents:
1. Navigate to **Administration > Nextedy Risksheet** in your project.
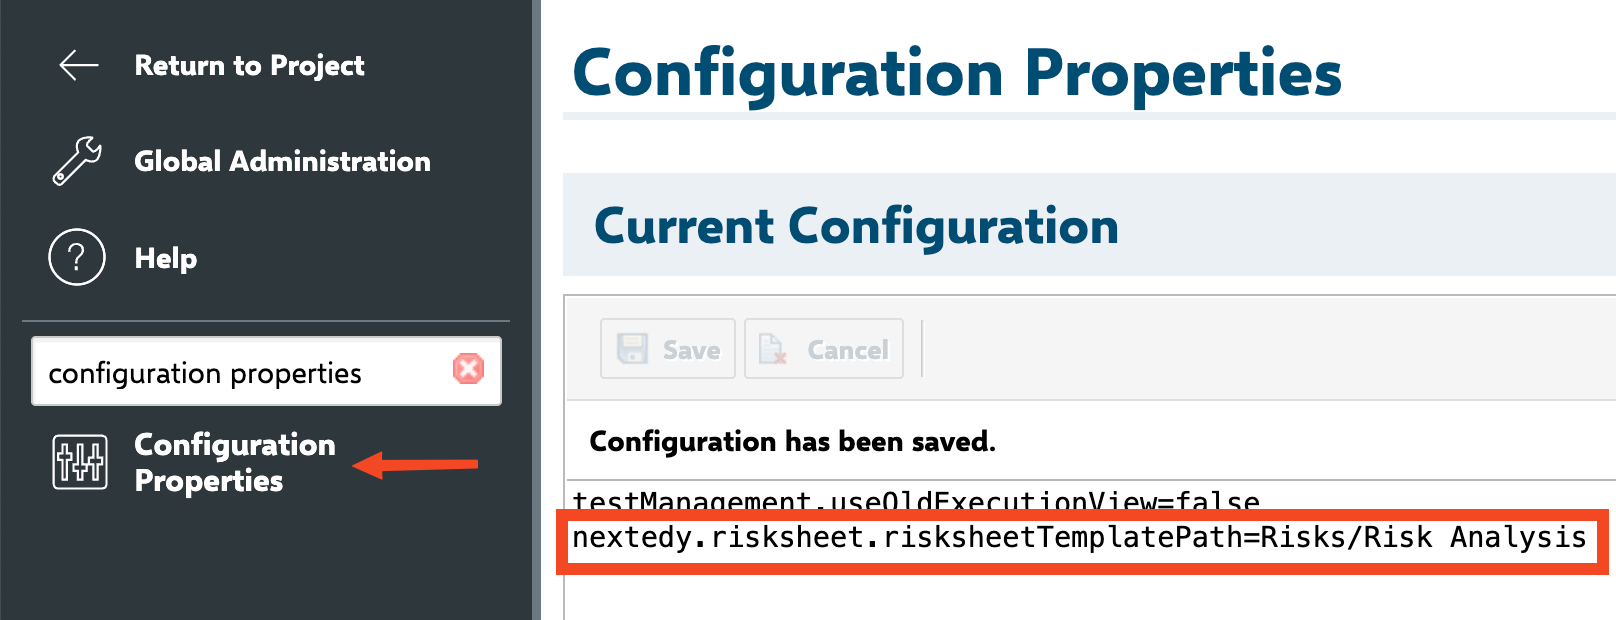
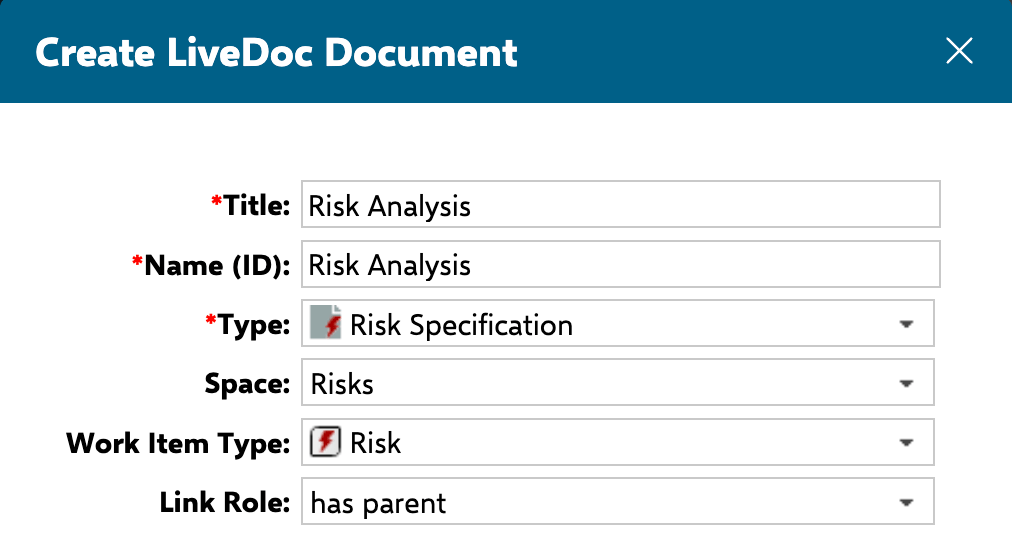
2. Configure the template path. The default value of `nextedy.risksheet.risksheetTemplatePath` is `Risks/Risk Specification`. For a shared global template, use the form `GlobalLibrary:Risks/Risk Specification` to reference a template stored in another project.
3. Multiple paths can be specified as comma-separated values.
The `nextedy.risksheet.riskDocumentType` property supports multiple document types using parenthesized syntax if you need Risksheet to work with different document categories.
Set up where users can create new Risksheet documents:
1. Navigate to **Administration > Nextedy Risksheet** in your project.
2. Configure the template path. The default value of `nextedy.risksheet.risksheetTemplatePath` is `Risks/Risk Specification`. For a shared global template, use the form `GlobalLibrary:Risks/Risk Specification` to reference a template stored in another project.
3. Multiple paths can be specified as comma-separated values.
 ```text theme={null}
Project Setup Flow:
Install Demo Templates (Setup page)
|
v
Configure Work Item Type (risk items)
|
v
Configure Document Type + templateDoc field
|
v
Set Template Path (document location)
|
v
Add Risksheet Topic to Sidebar
|
v
Test: Create New Risksheet Document
```
Add the Risksheet topic to your project's sidebar navigation:
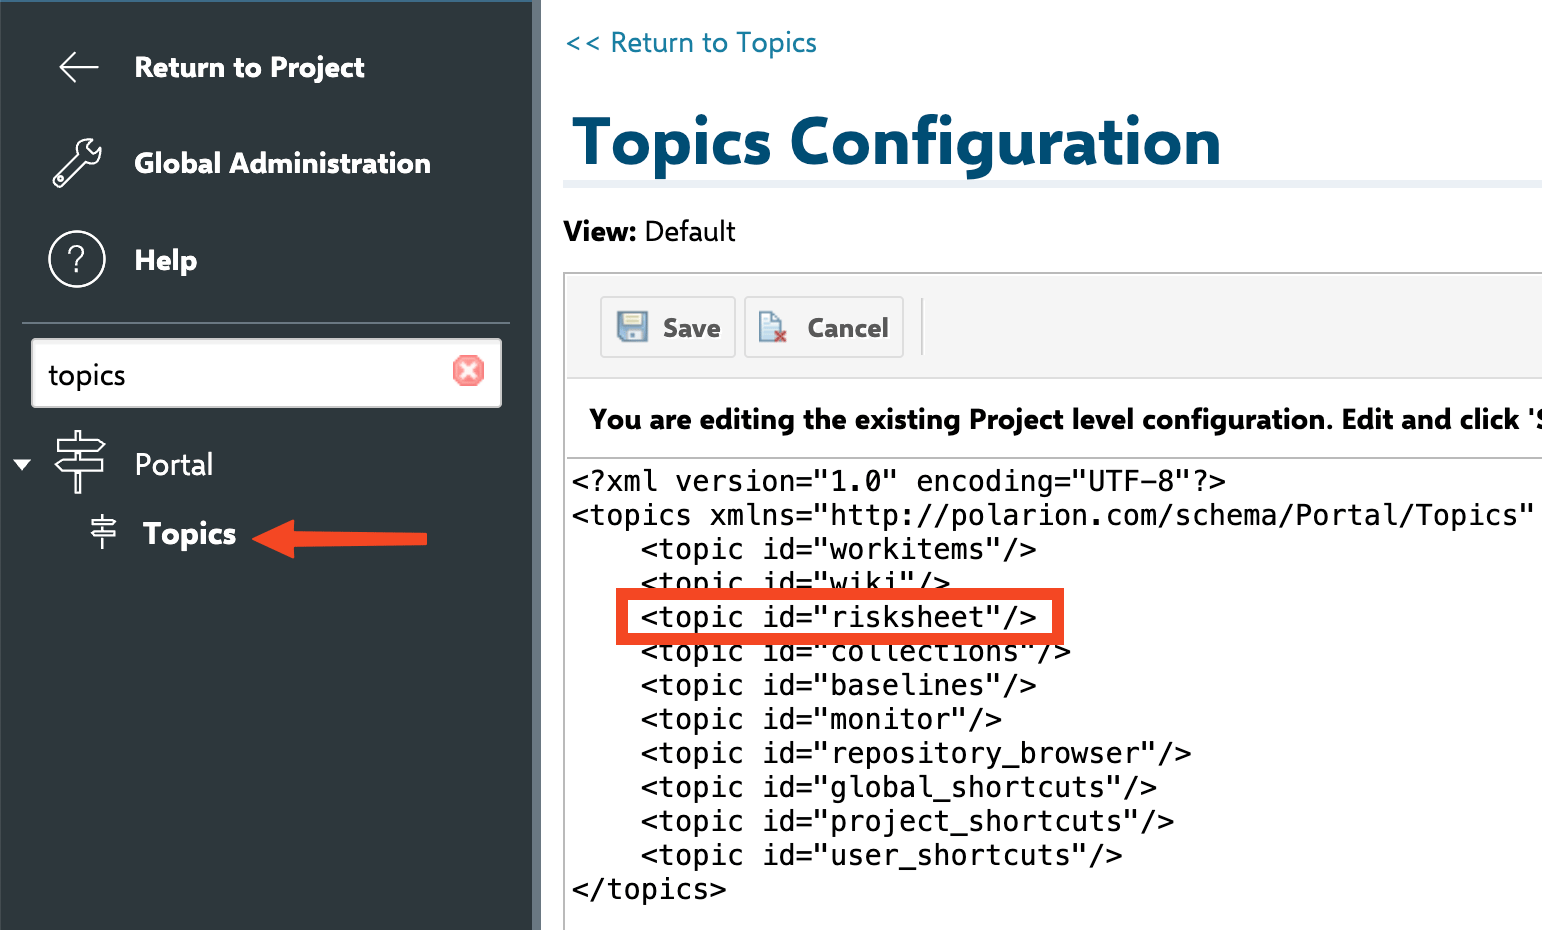
1. Navigate to **Administration > Topics** in your project.
2. Add `` to the sidebar configuration for the relevant views and roles.
3. Save the configuration.
```text theme={null}
Project Setup Flow:
Install Demo Templates (Setup page)
|
v
Configure Work Item Type (risk items)
|
v
Configure Document Type + templateDoc field
|
v
Set Template Path (document location)
|
v
Add Risksheet Topic to Sidebar
|
v
Test: Create New Risksheet Document
```
Add the Risksheet topic to your project's sidebar navigation:
1. Navigate to **Administration > Topics** in your project.
2. Add `` to the sidebar configuration for the relevant views and roles.
3. Save the configuration.
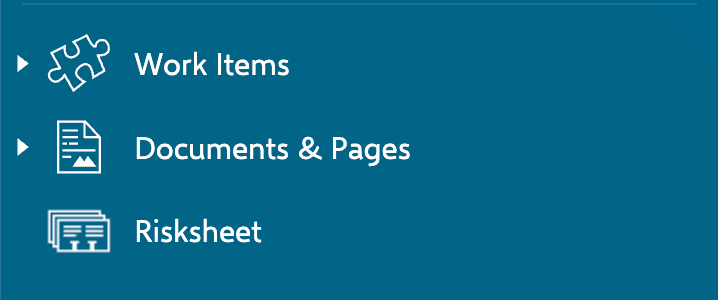 If Risksheet does not appear in the navigation after adding the topic, verify that the topic is configured for the specific view/role that the user is assigned to. Removing or omitting the Risksheet topic from a custom navigation view makes Risksheet invisible in that view.
Optionally customize how Risksheet appears in your project. The following properties are available in **Administration > Nextedy Risksheet**:
| Property | Default | Purpose |
| ------------------------ | --------------- | ------------------------------- |
| Tool Name | `Risksheet` | Display name in the UI |
| Document Names (plural) | `Risk Analyses` | Plural label for document lists |
| Document Name (singular) | `Risk Analysis` | Singular label in dialogs |
## Verification
1. Navigate to your project's sidebar and click the Risksheet entry.
2. You should now see the Risksheet home page with folder navigation and a document creation option.
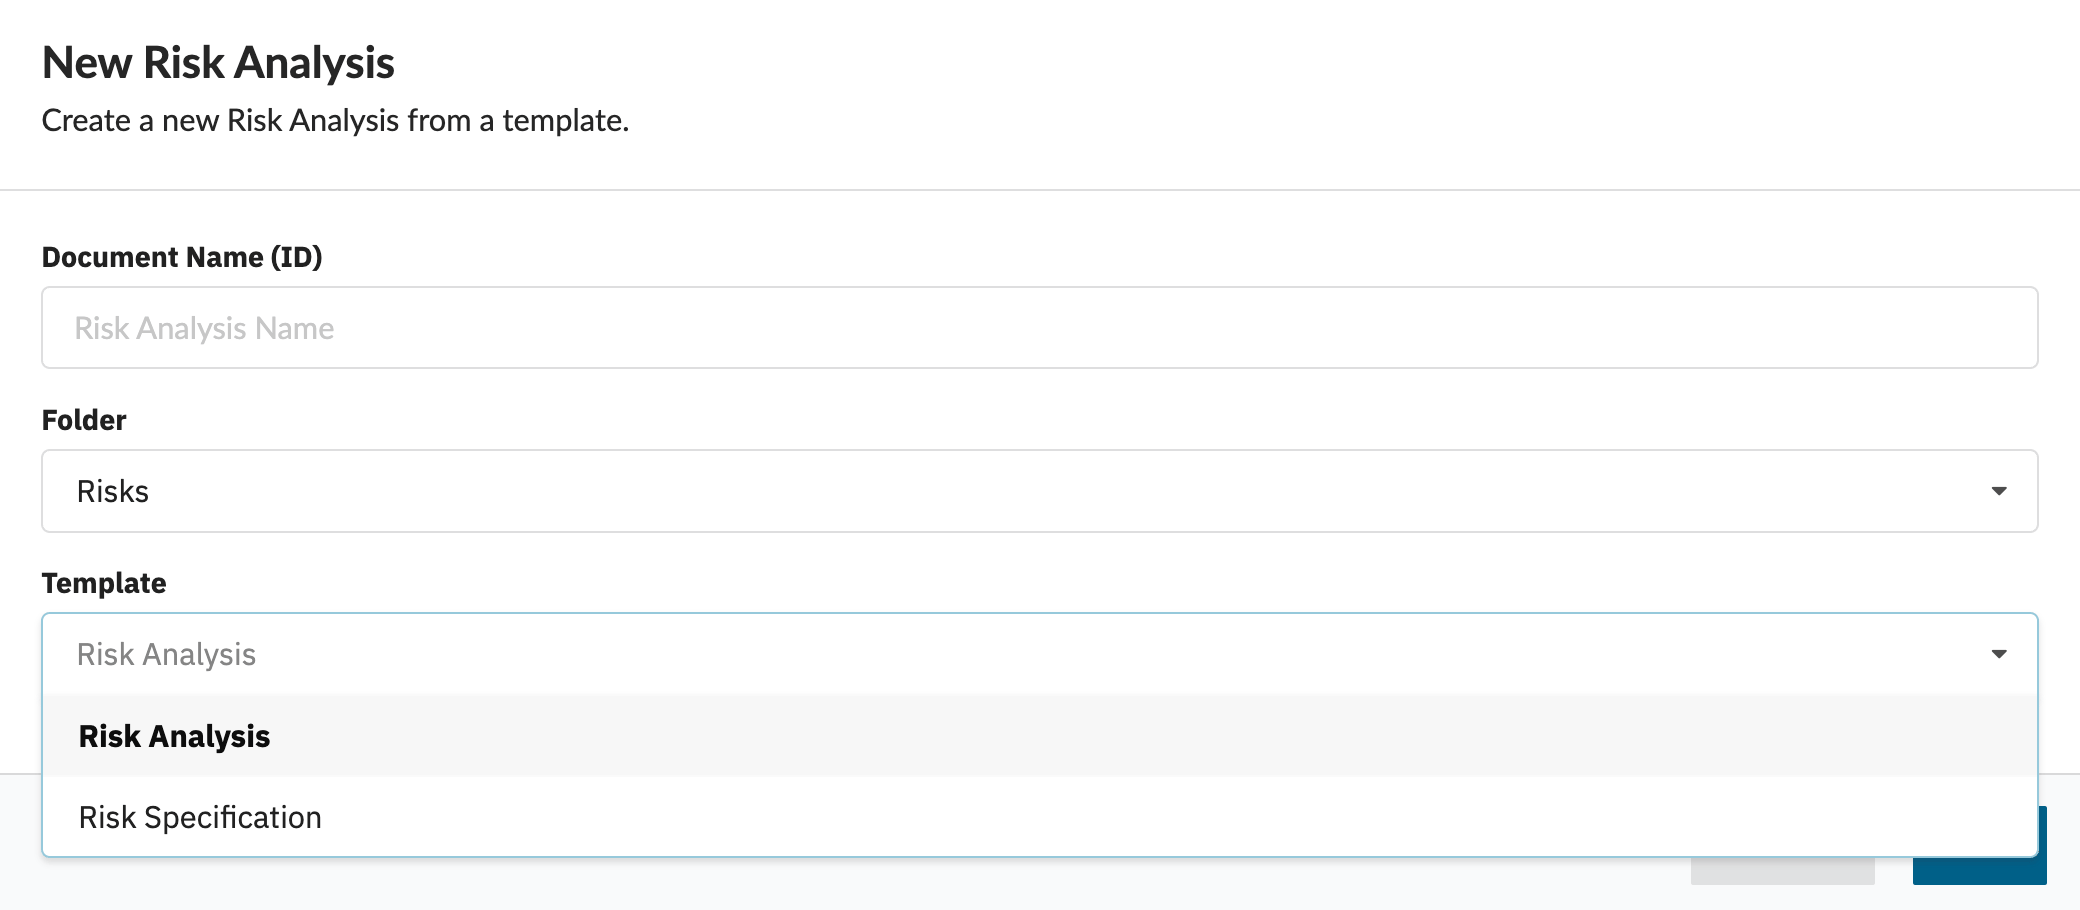
3. Create a test risksheet document to verify the configuration. Pick the closest solution template for your industry or methodology rather than starting from a blank document — modify it to match your process from there.
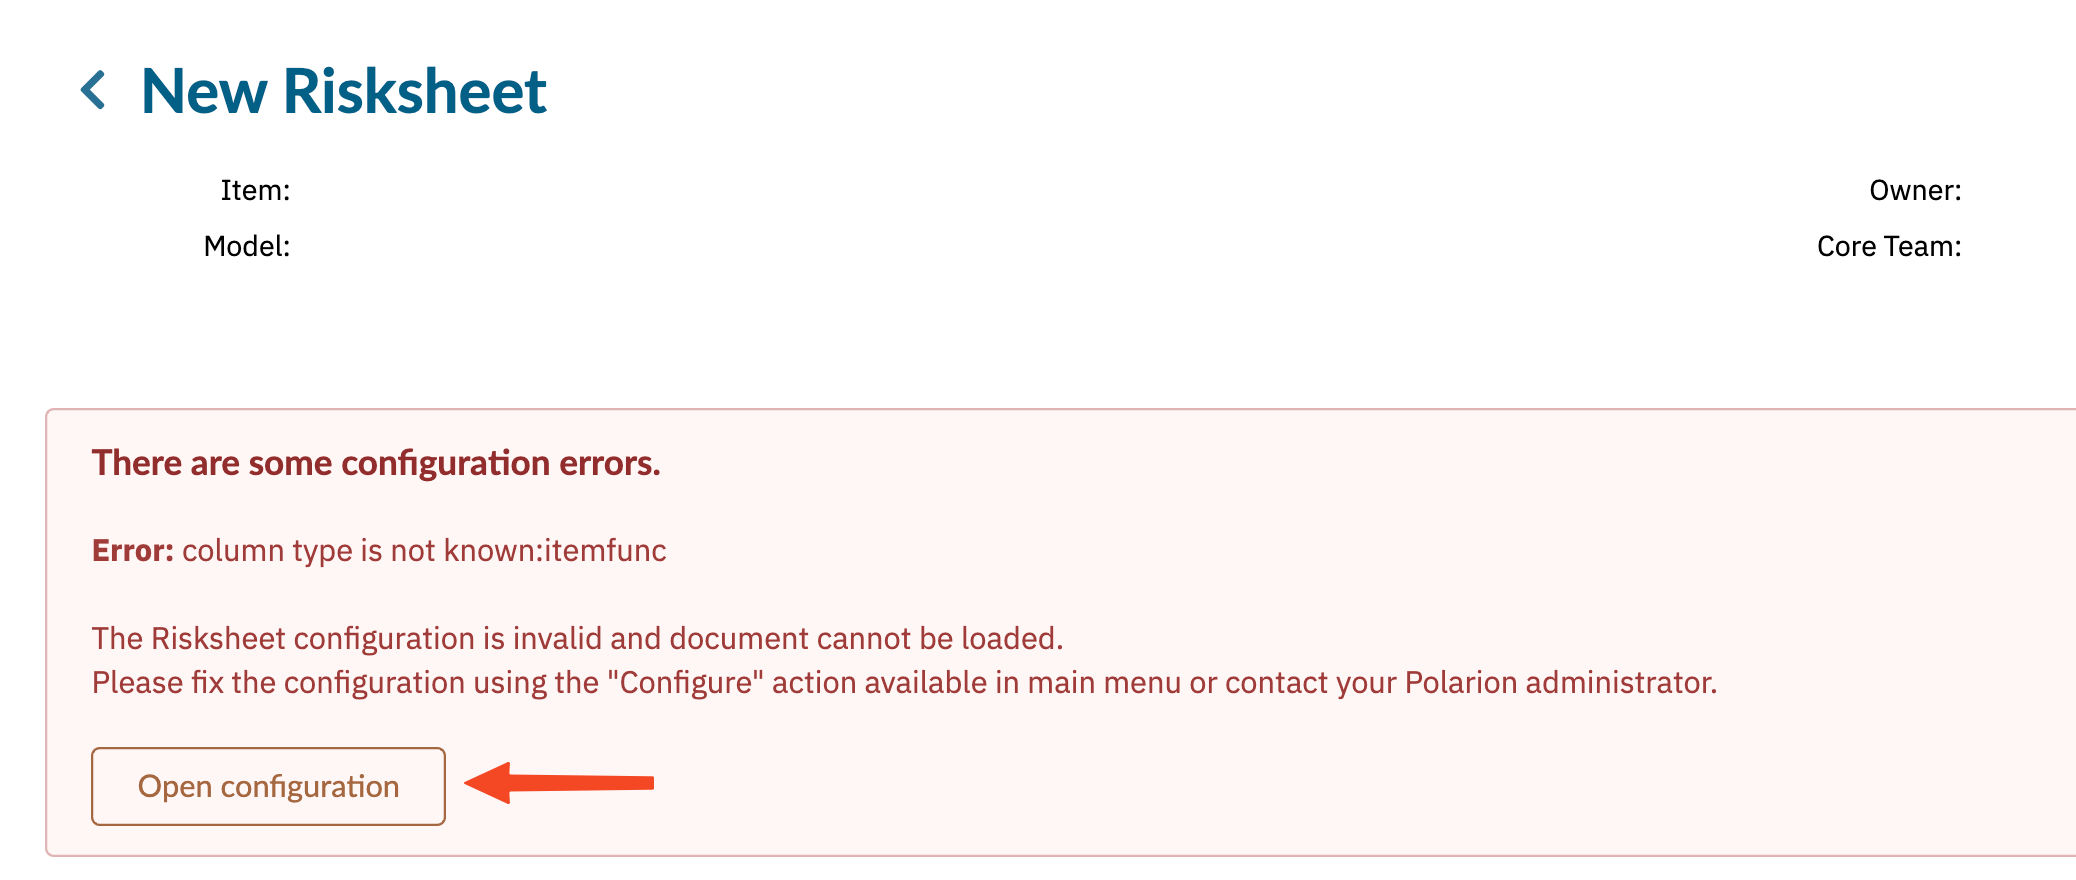
4. Confirm the document loads with the correct template and column layout.
If Risksheet does not appear in the navigation after adding the topic, verify that the topic is configured for the specific view/role that the user is assigned to. Removing or omitting the Risksheet topic from a custom navigation view makes Risksheet invisible in that view.
Optionally customize how Risksheet appears in your project. The following properties are available in **Administration > Nextedy Risksheet**:
| Property | Default | Purpose |
| ------------------------ | --------------- | ------------------------------- |
| Tool Name | `Risksheet` | Display name in the UI |
| Document Names (plural) | `Risk Analyses` | Plural label for document lists |
| Document Name (singular) | `Risk Analysis` | Singular label in dialogs |
## Verification
1. Navigate to your project's sidebar and click the Risksheet entry.
2. You should now see the Risksheet home page with folder navigation and a document creation option.
3. Create a test risksheet document to verify the configuration. Pick the closest solution template for your industry or methodology rather than starting from a blank document — modify it to match your process from there.
4. Confirm the document loads with the correct template and column layout.

 ## See Also
* [Installation](/risksheet/getting-started/installation) — initial plugin installation
* [Configure Template Paths](/risksheet/guides/configuration/template-path-configuration) — advanced template path options
* [Set Up Global Templates](/risksheet/guides/configuration/global-templates) — share templates across projects
* [Basic Configuration](/risksheet/getting-started/basic-configuration) — customize your first risksheet
## See Also
* [Installation](/risksheet/getting-started/installation) — initial plugin installation
* [Configure Template Paths](/risksheet/guides/configuration/template-path-configuration) — advanced template path options
* [Set Up Global Templates](/risksheet/guides/configuration/global-templates) — share templates across projects
* [Basic Configuration](/risksheet/getting-started/basic-configuration) — customize your first risksheet